


How To Install Removable and Traditional Wallpaper
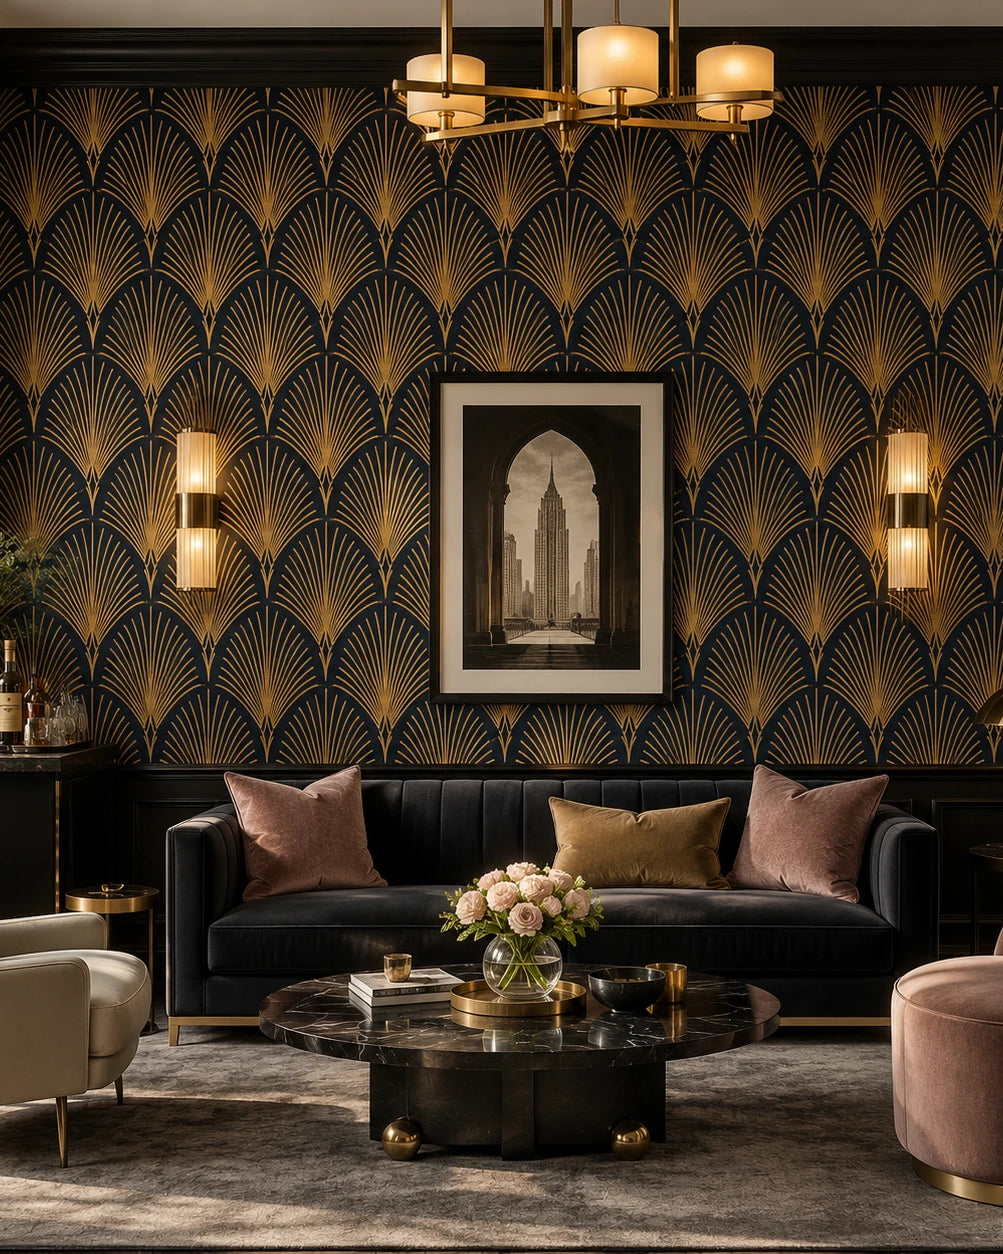
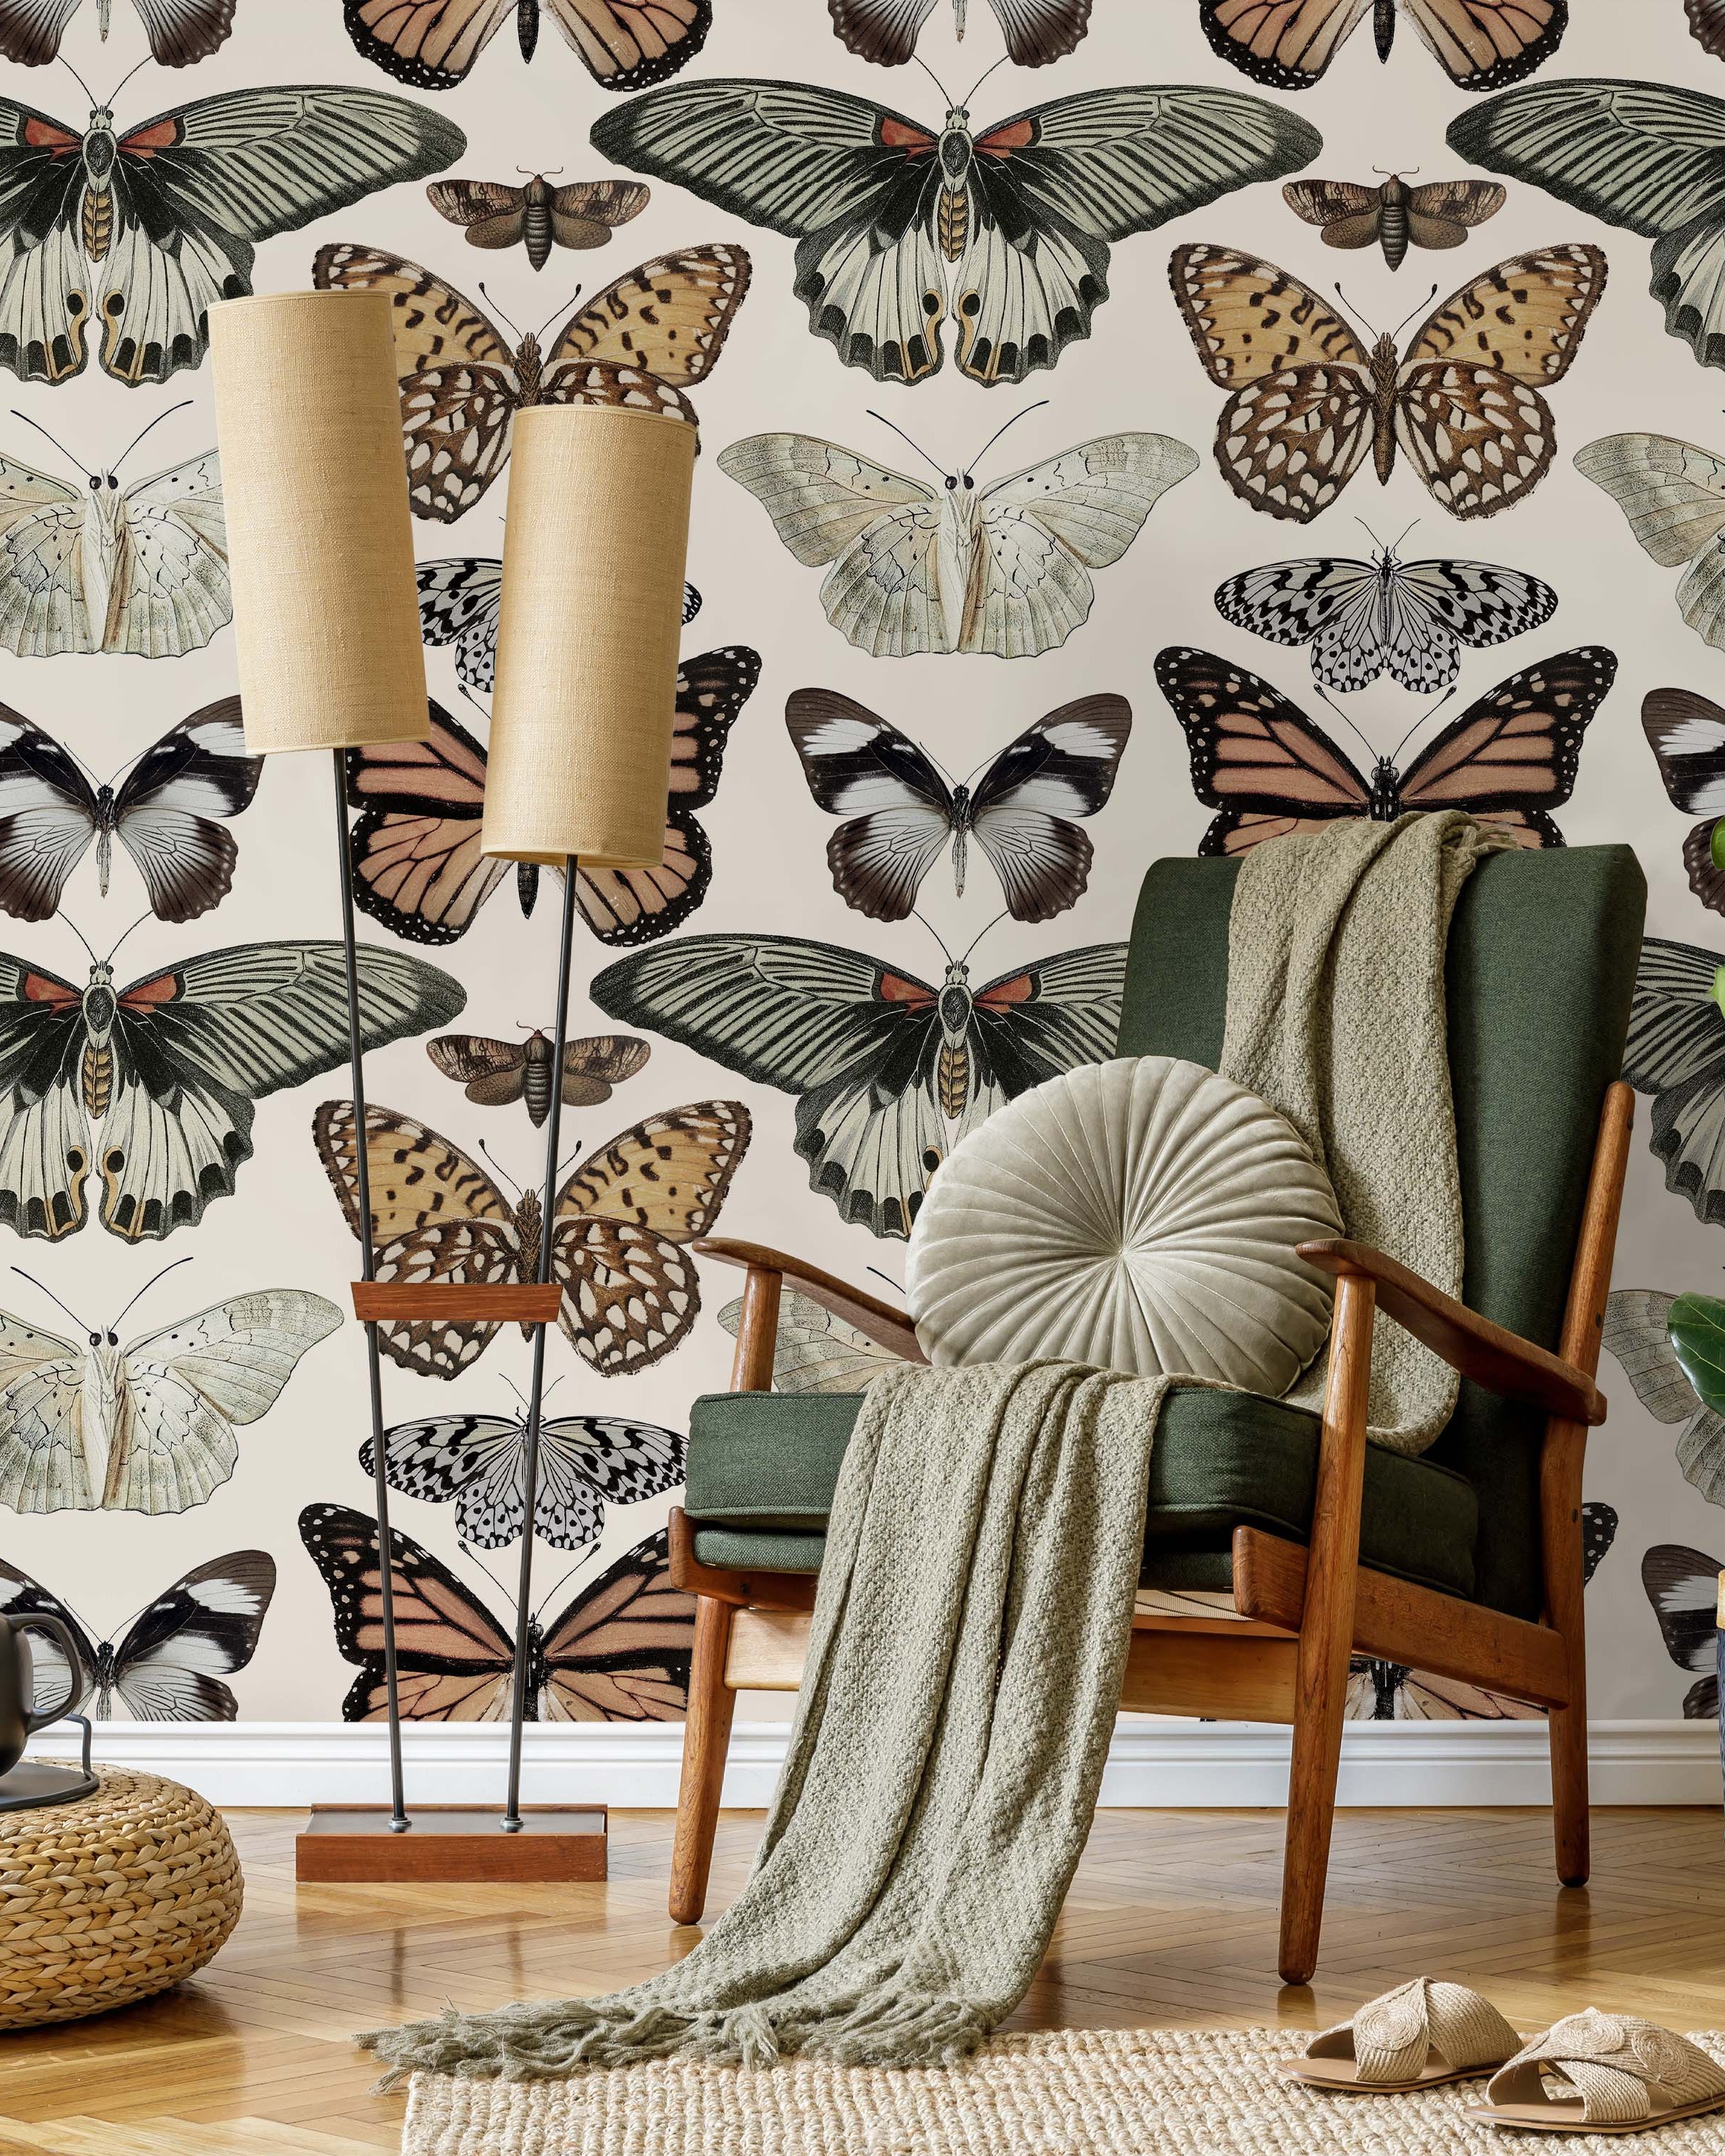
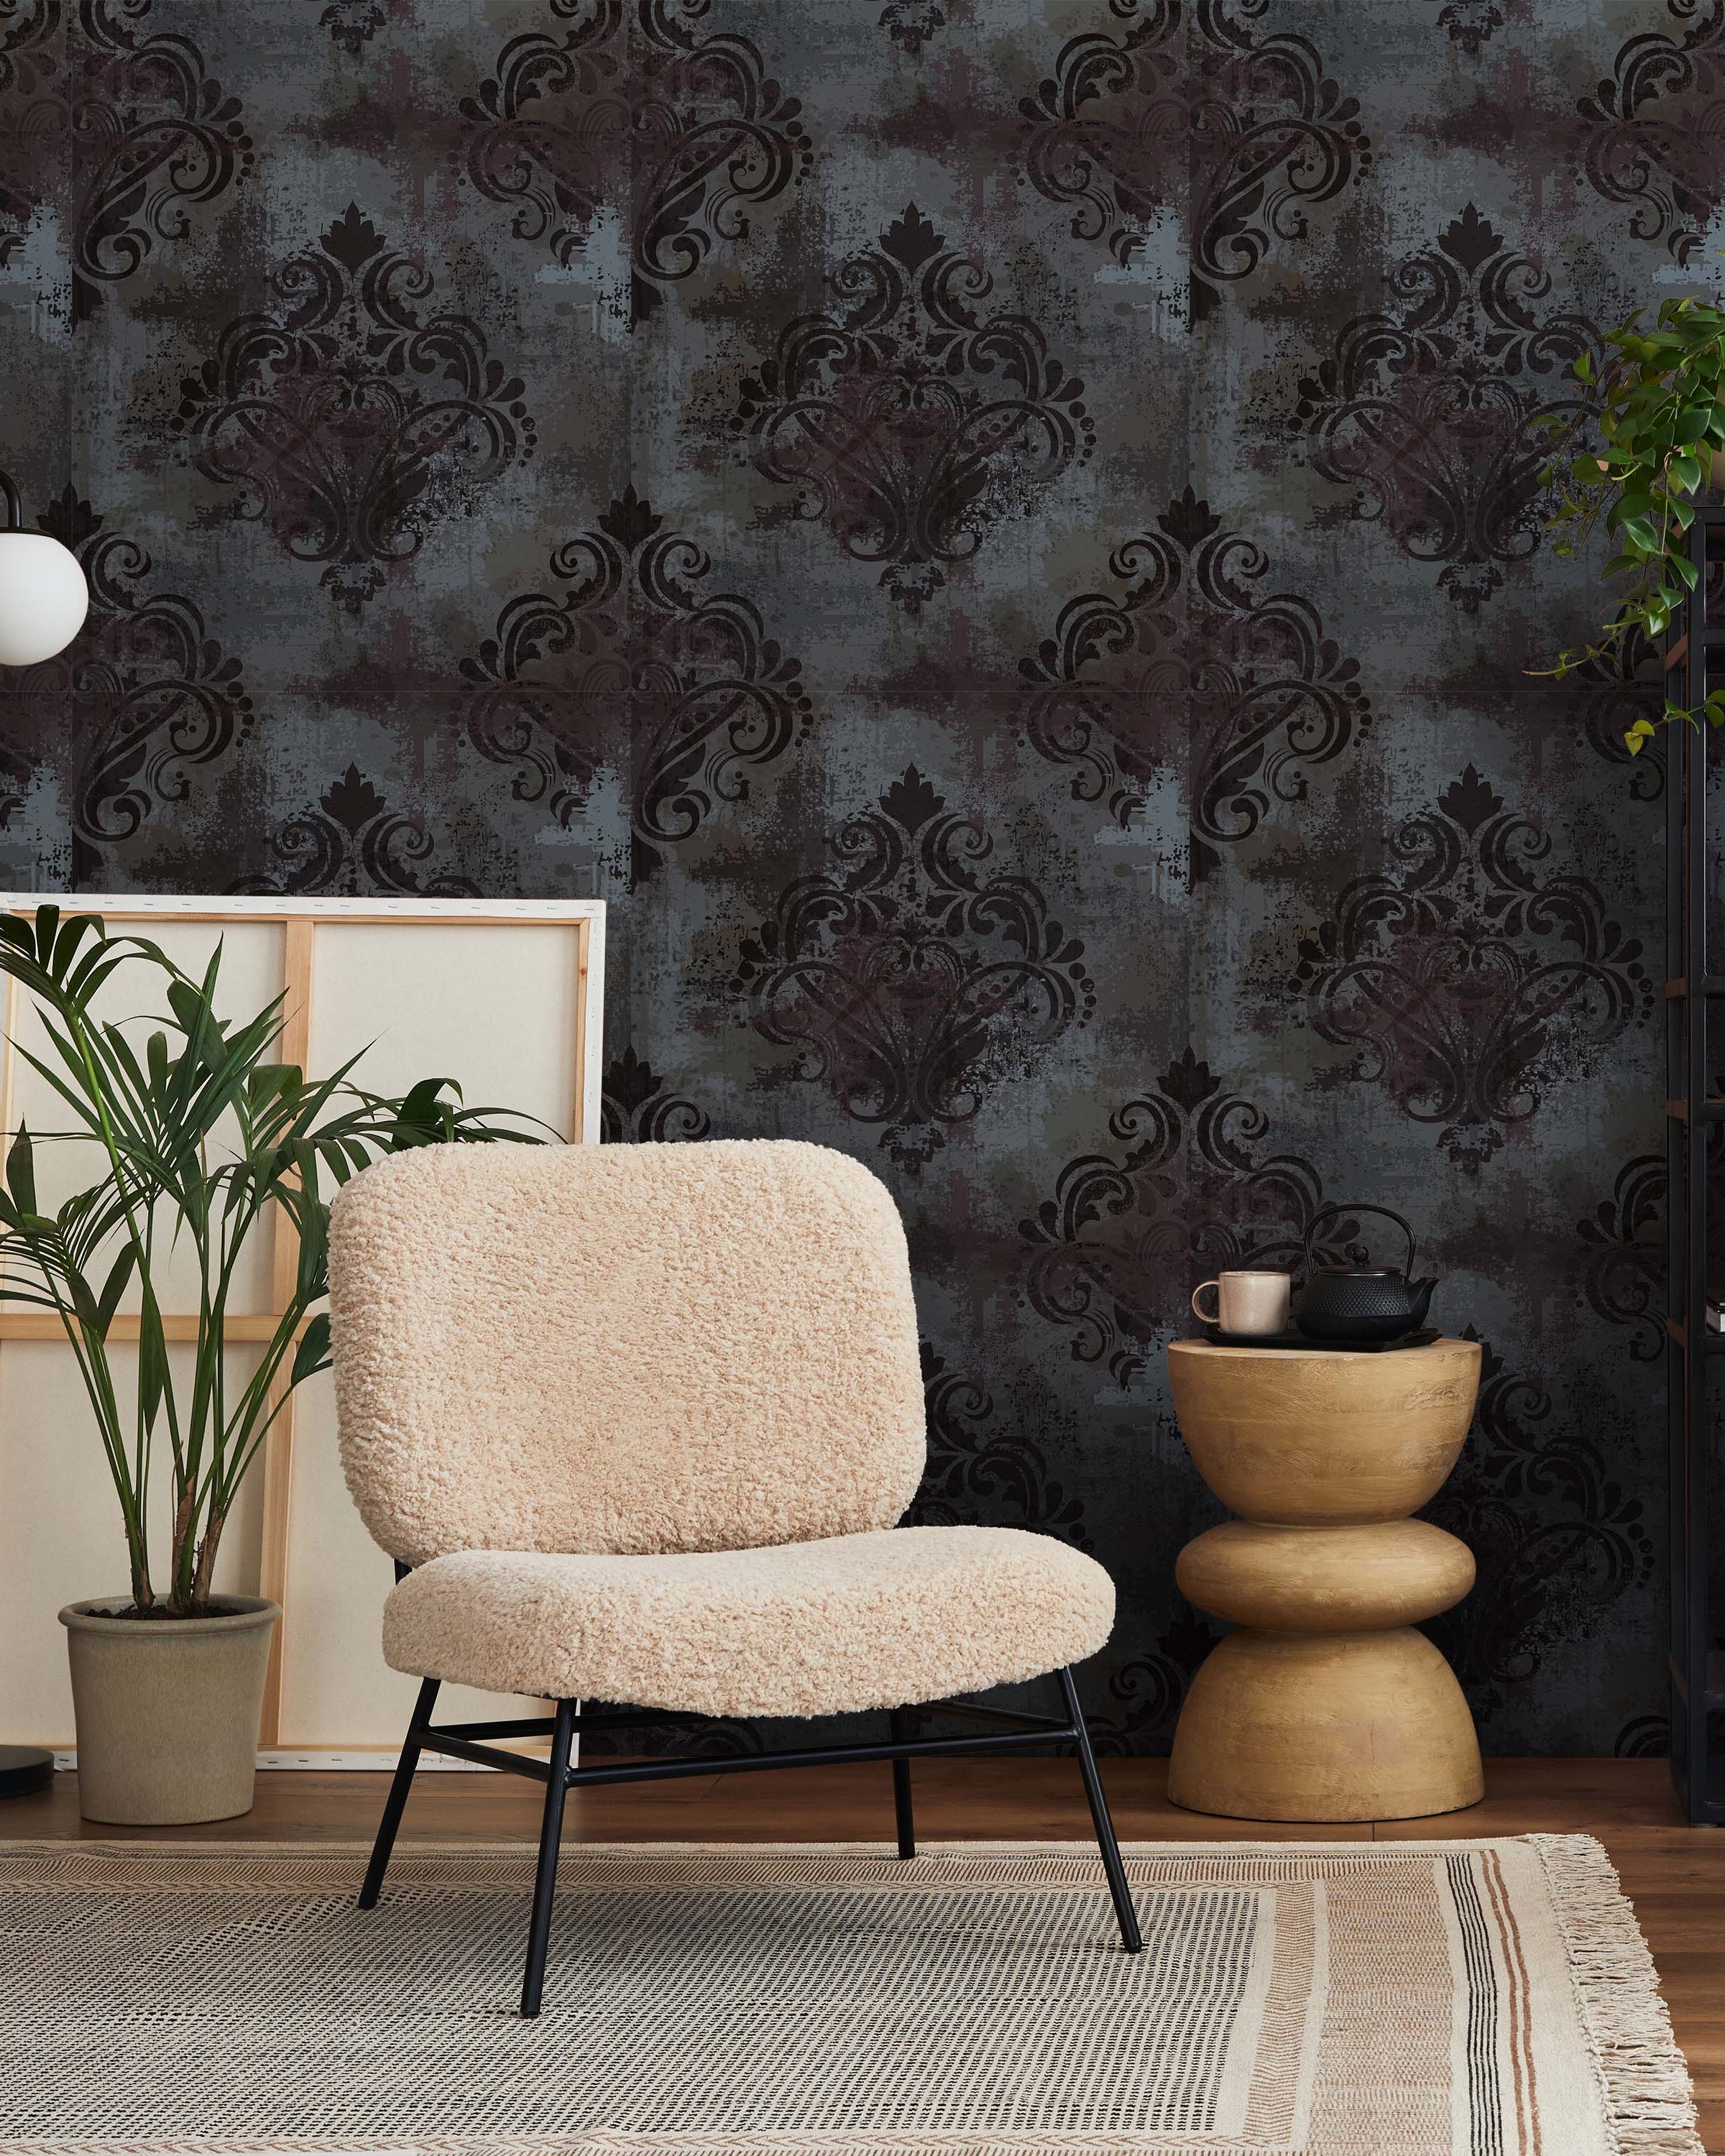
Installing peel & stick (or removable) wallpaper is an easy way to transform any room into a stylish, eye‑catching space. This guide walks you through every step—from selecting the right wallpaper type and measuring your walls to preparing, applying, and maintaining it—so you can achieve a flawless finish with confidence.
1. Choosing The Right Wallpaper Type
Selecting the right wallpaper is about balancing style with practicality. Each material offers unique benefits, so consider both the look you want and the skills of the installer.

Peel & Stick Wallpaper
KEY BENEFITS:
- Fabric-based with a self-adhesive backing
- Easy to apply, no glue required
- Removable: peels off cleanly without damage
- DIY-Friendly: simple to apply on many surfaces
- Reusable: can be repositioned or reapplied
- Textured: subtle textile finish adds warmth
- Safe: PVC-free, printed with certified indoor inks
- Flexible: ideal for renters, short-term, or seasonal décor
Traditional Wallpaper
KEY BENEFITS:
- Paper-based material with a matte finish
- Requires wallpaper paste for installation
- Secure: strong adhesion with paste
- Durable: long-lasting results in any room
- Resistant: suitable for humid spaces
- Warm: undertone adds depth to designs
- Safe: PVC-free, printed with certified indoor inks
- Professional: best for experienced DIYers or installers
TIP: We suggest ordering a sample first — it’s the easiest way to check the look and feel of wallpaper material before you commit to final order.
2. Essential Steps Before Installing
Successful wallpaper installation starts with preparation. From measuring your walls and placing the right order to ensuring surfaces are clean and smooth, these steps lay the foundation for a flawless finish.

Measuring The Wall
Accurate measurements are the key to a smooth wallpaper installation. Measuring correctly ensures you order the right amount, avoid waste, and start your project with confidence.
YOU WILL NEED:
- Tape measure
- Pencil
- Paper or device to record measurements
STEPS:
1. Start at a corner, keeping the tape measure straight and flush against the wall.
2. Measure height (floor to ceiling) and width (corner to corner).
3. Standard sheet width is 28". Select a sheet size slightly taller than your wall height.
4. Divide wall width by 28" to calculate the number of sheets (quantity). Round the number up.
5. Repeat for each wall if necessary.
6. For walls with windows, doors, or slanted ceilings, contact us for a custom order.
Placing The Order
Placing a wallpaper order is simple when you follow the right steps. Accurate measurements, the right material choice, and a sample test will ensure your wallpaper fits perfectly and meets your expectations.
STEPS:
1. Measure
- Refer to previous step for precise wall measurements.
- Double‑check dimensions to avoid ordering too little or too much.
2. Choose Material
- Decide between Peel & Stick or Traditional (see Step 1).
- Consider your installer’s skill level and the room’s conditions.
3. (Optional) Order a Sample
- We recommend to test a sample first to confirm texture, color, and finish.
- This helps you feel confident before committing to a full order.
4. Decide on Alterations
- Note any color changes or design adjustments you’d like.
- Our designer will provide a digital mockup for approval.
ORDER WITH ASSISTANCE
If you need help with measurements, have non‑standard walls, require complex design changes, or want a custom design — contact us — we’re always happy to help ensure you get exactly what you want.
Preparing The Wall
Proper wall prep is essential for a flawless wallpaper finish. By smoothing and cleaning the surface, you’ll create the perfect canvas for your design.
STEPS:
1. Smooth
- Check for cracks, holes, or bumps.
- Fill imperfections with spackling compound or wall filler.
- Sand smooth once dry.
- Remove any existing wallpaper before applying new.
2. Clean
- Wipe walls with a mild detergent solution and a sponge or cloth.
- Remove all dust, dirt, and grease.
- Avoid harsh chemicals.
- Allow walls to dry completely before moving on.
3. Installation
Whether you choose peel & stick or traditional wallpaper, proper installation is key to achieving a flawless finish. These step‑by‑step guides walk you through both methods, making the process simple and manageable.
Peel & Stick Installation
Applying peel & stick wallpaper is quick and DIY‑friendly. With careful alignment and smoothing, you’ll achieve a flawless finish in minutes.
STEPS:
1. Plan
- Lay out your wallpaper sheets in order.
- Double‑check measurements to ensure you have the right number of panels.
2. Peel
- Start at the top left corner of your wall.
- Gently peel back a few inches of the backing paper to expose the adhesive.
3. Stick
- Press the exposed adhesive onto the wall, keeping the sheet straight.
- Slowly peel away more backing as you smooth the wallpaper downward.
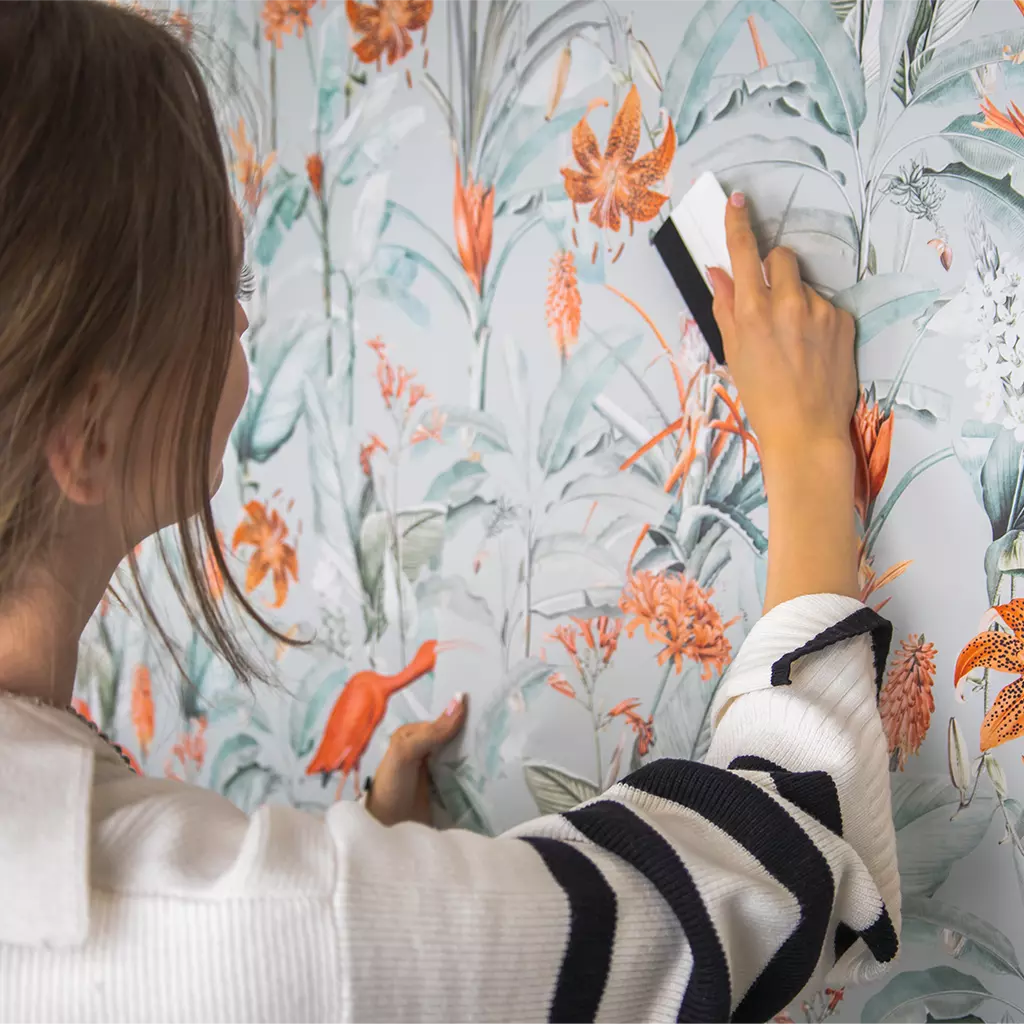
4. Smooth
- Use a smoothing tool or clean cloth to remove air bubbles.
- Work from the center outward for best results.
5. Align
- Match edges or patterns carefully between sheets.
- Overlap slightly if needed, then trim excess with a sharp utility knife.
6. Finish
- Once all sheets are applied, check corners and edges for secure adhesion.
- Reposition panels if necessary — peel & stick allows easy adjustments.
Traditional Installation
Traditional wallpaper offers a smooth, durable finish but requires paste and a bit more skill. With careful preparation and patience, you’ll achieve professional results.
STEPS:
1. Mix Paste
- Prepare wallpaper paste according to the manufacturer’s instructions.
- Use a clean bucket and stir until smooth.
2. Apply Paste
- Lay the wallpaper sheet face down on a flat surface.
- Evenly spread paste across the back using a brush or roller.
- Pay extra attention to edges and corners.
3. Book the Paper
- Gently fold the pasted sides together (paste-to-paste) without creasing.
- Let it rest for a few minutes to activate the adhesive.
4. Position
- Starting at the top left of the wall, align the sheet carefully.
- Unfold and press into place, smoothing as you go.
5. Smooth
- Use a wallpaper brush or smoothing tool to remove bubbles.
- Work from the center outward for a flat finish.
6. Trim
- Cut excess at the top, bottom, and edges with a sharp utility knife.
- Wipe away any paste residue with a damp sponge.
7. Repeat
- Continue with the next sheet, matching seams or patterns precisely.
- Check alignment regularly for a seamless look.
4. Cleaning, Maintenance & Removal
Proper care keeps your wallpaper looking fresh and extends its lifespan. While both peel & stick and traditional wallpaper are durable, each has slightly different needs.

Peel & Stick
CARE:
- Dust Regularly: Use a soft, dry cloth or microfiber duster.
- Spot Clean: Wipe gently with a damp sponge and mild soap if needed.
- Avoid Excess Water: Too much moisture can weaken the adhesive.
- Protect from Heat: Keep away from direct heat sources to prevent adhesive softening.
REMOVAL:
1. Loosen a Corner
- Start at the top edge or corner of a panel.
- Gently lift the wallpaper until the adhesive backing begins to release.
2. Peel Slowly
- Pull the sheet downward at a 45° angle.
- Work gradually to avoid tearing or leaving residue.
3. Check Adhesion
- If any adhesive remains, wipe with a damp cloth and mild soap.
- Avoid harsh chemicals that could damage paint or drywall.
4. Inspect Walls
- Once removed, check for any lifted paint or imperfections.
- Touch up with filler or paint if needed before re‑decorating.
Traditional
CARE:
- Dust Often: Use a soft brush or microfiber cloth.
- Wipe Carefully: For washable varieties, use a damp sponge with mild soap. Test a small area first.
- Avoid Abrasives: Do not scrub or use harsh chemicals, which can damage the finish.
- Check Seams: Ensure edges remain secure; reapply paste if necessary.
- Humidity Care: In kitchens or bathrooms, ventilate well to prevent peeling or mold.
REMOVAL:
1. Score the Surface
- Lightly score wallpaper with a scoring tool to allow moisture to penetrate.
- Avoid pressing too hard to protect the wall underneath.
2. Apply Removal Solution
- Use warm water mixed with wallpaper remover or mild soap.
- Apply with a sponge or spray bottle, soaking the paper thoroughly.
3. Wait & Loosen
- Let the solution sit for several minutes to soften the paste.
- Begin peeling from seams or corners.
4. Scrape Carefully
- Use a plastic scraper or putty knife to lift wallpaper.
- Work gently to avoid gouging the wall.
5. Clean Residue
- Wash walls with warm water to remove leftover paste.
- Allow walls to dry completely before repainting or re‑papering.
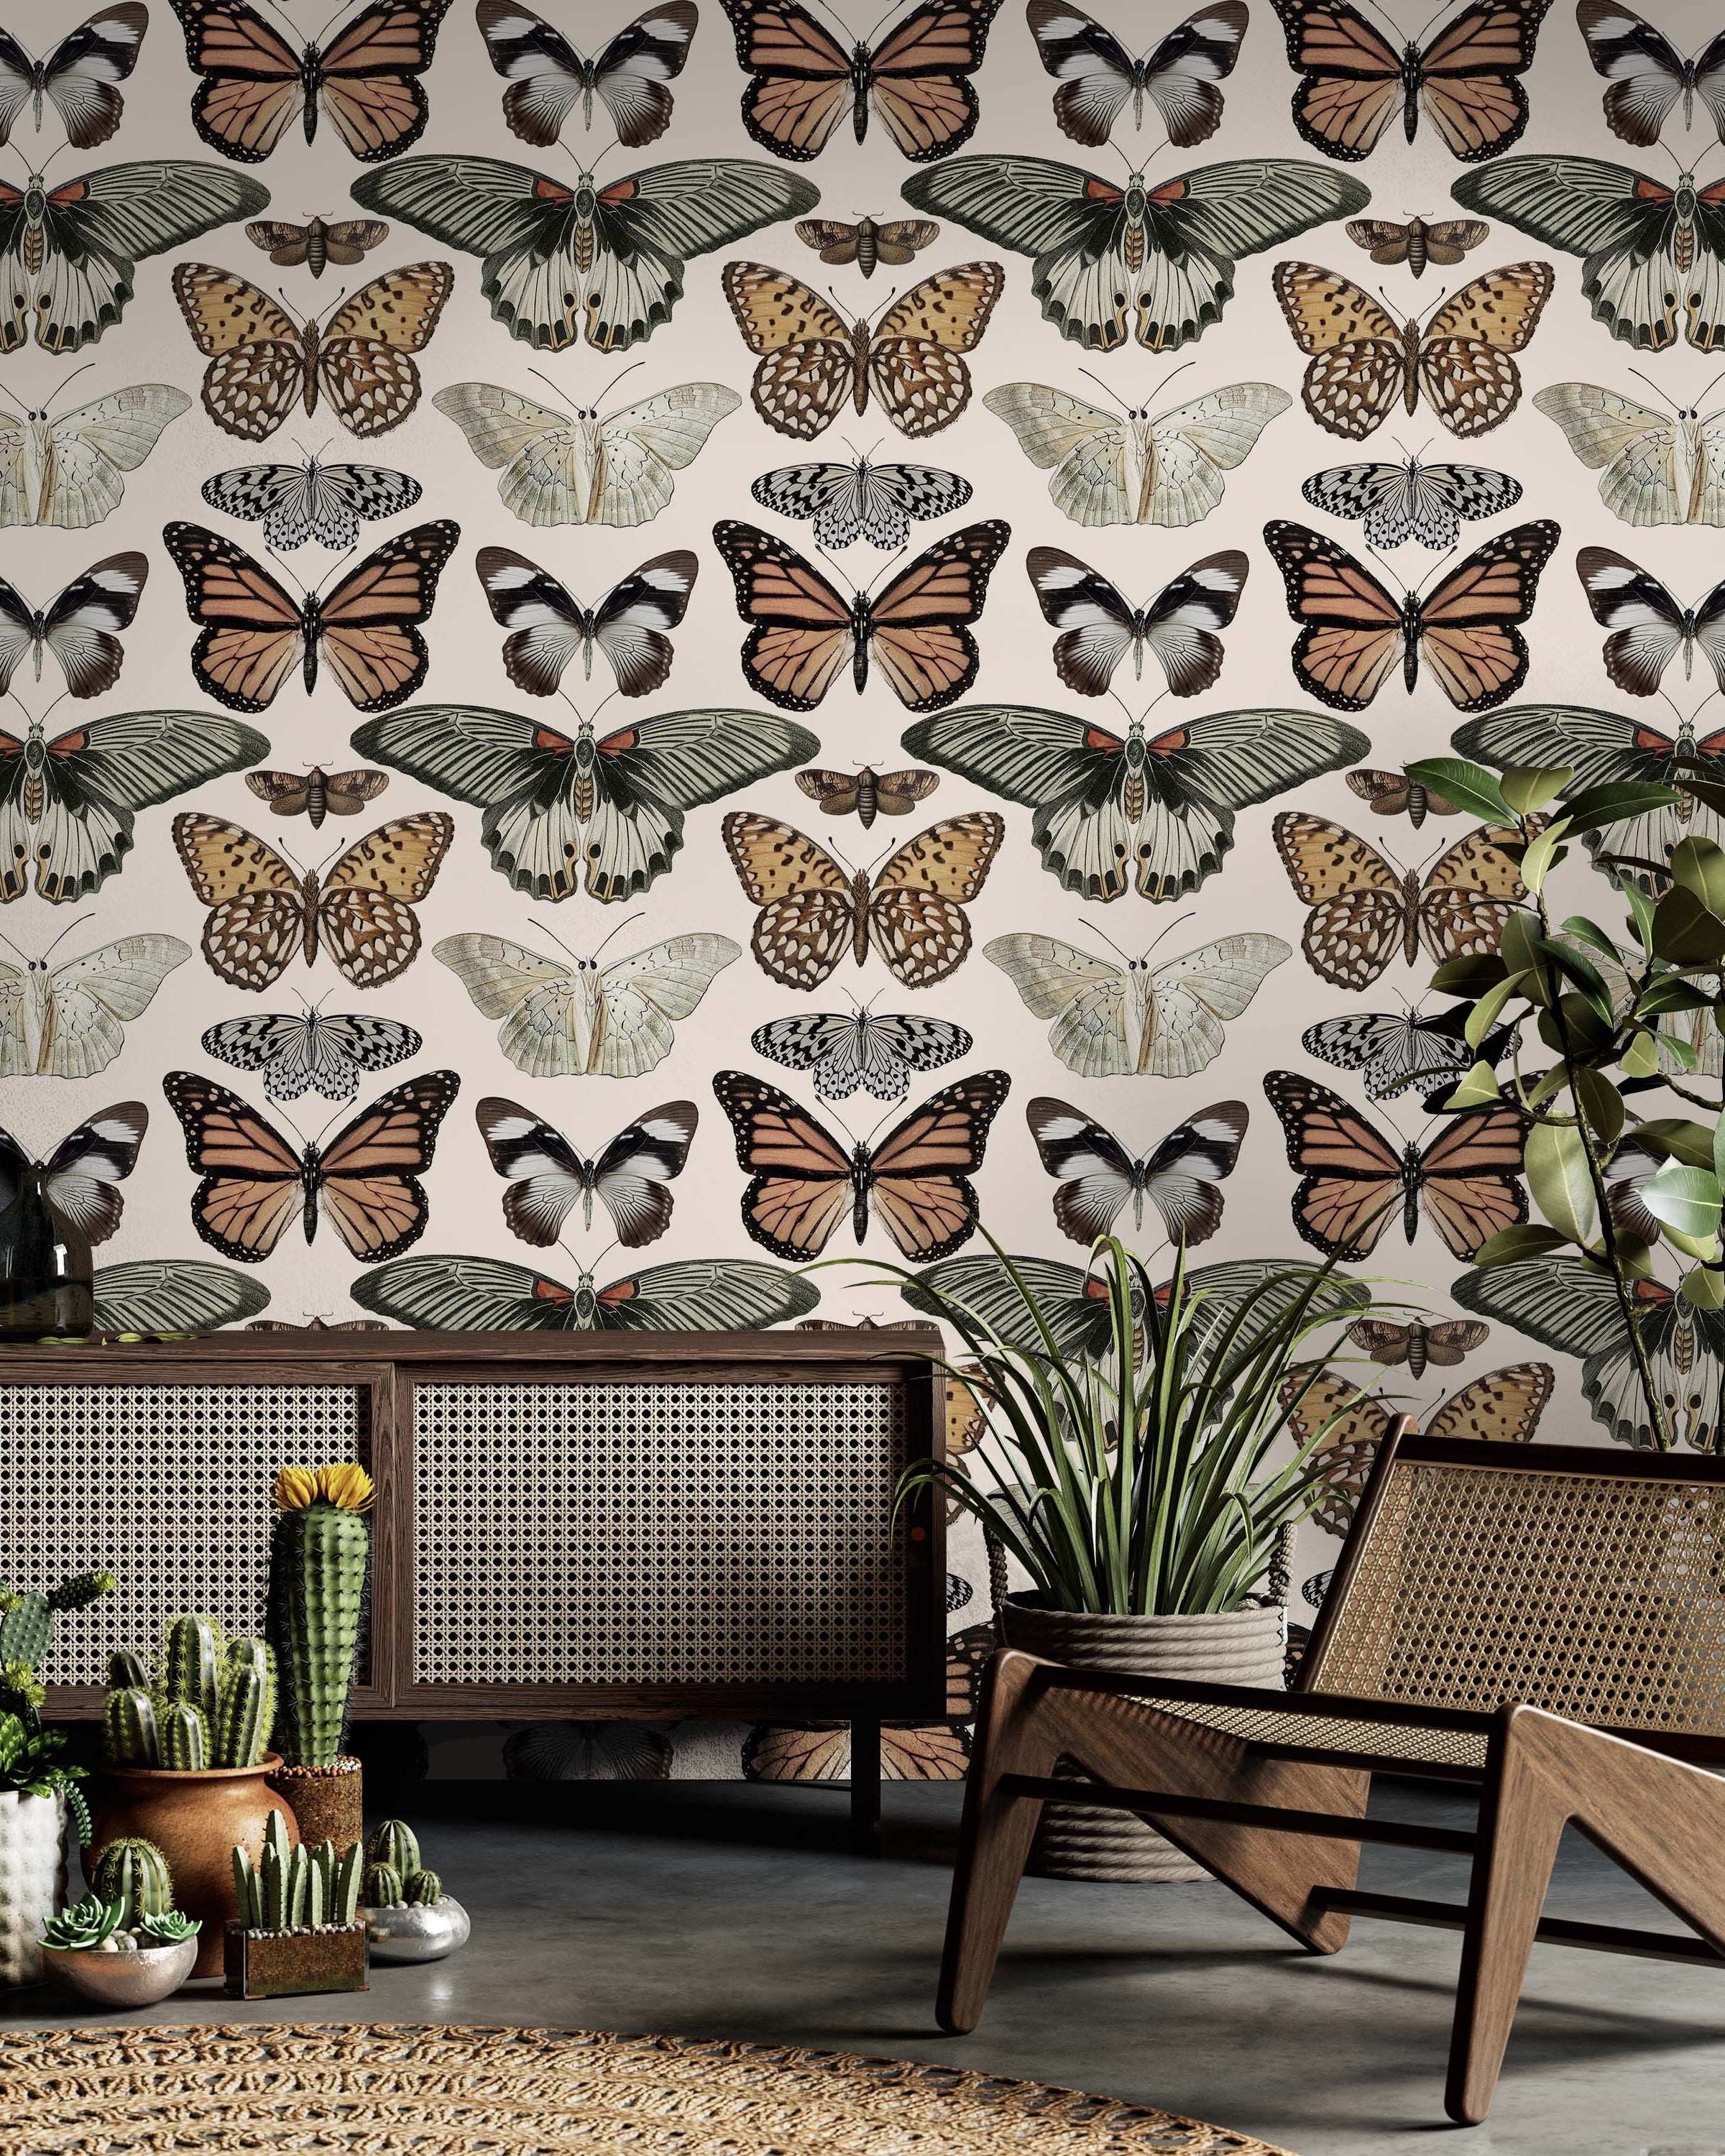
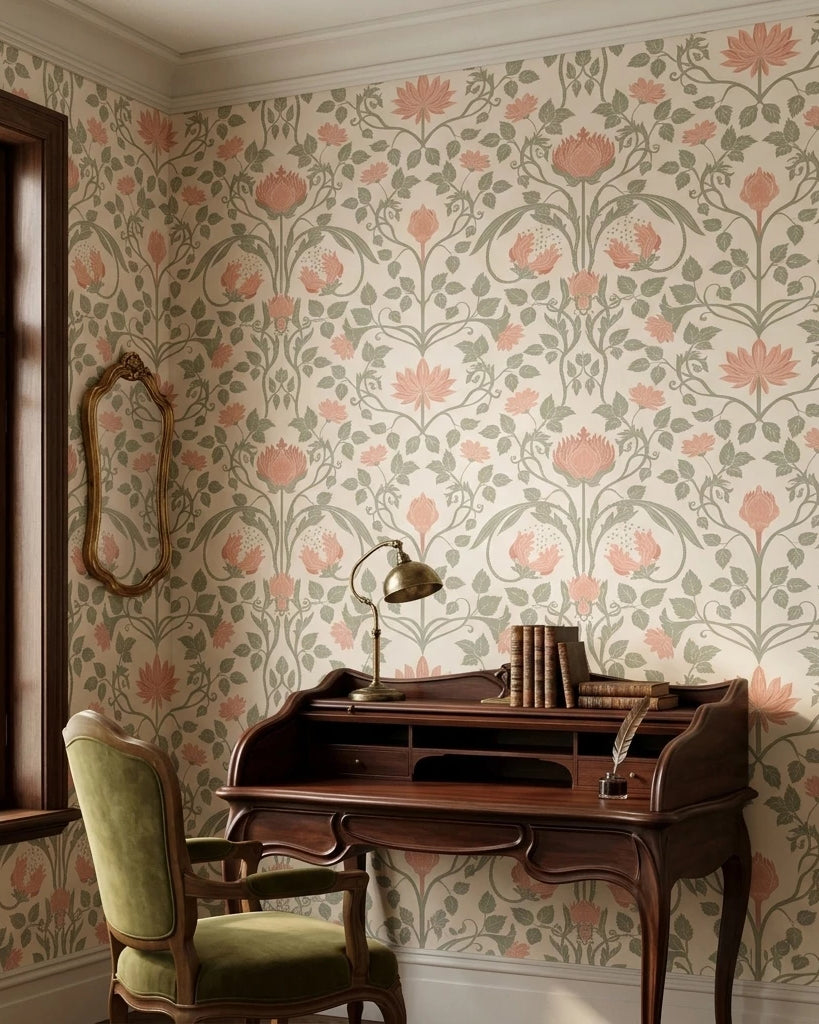
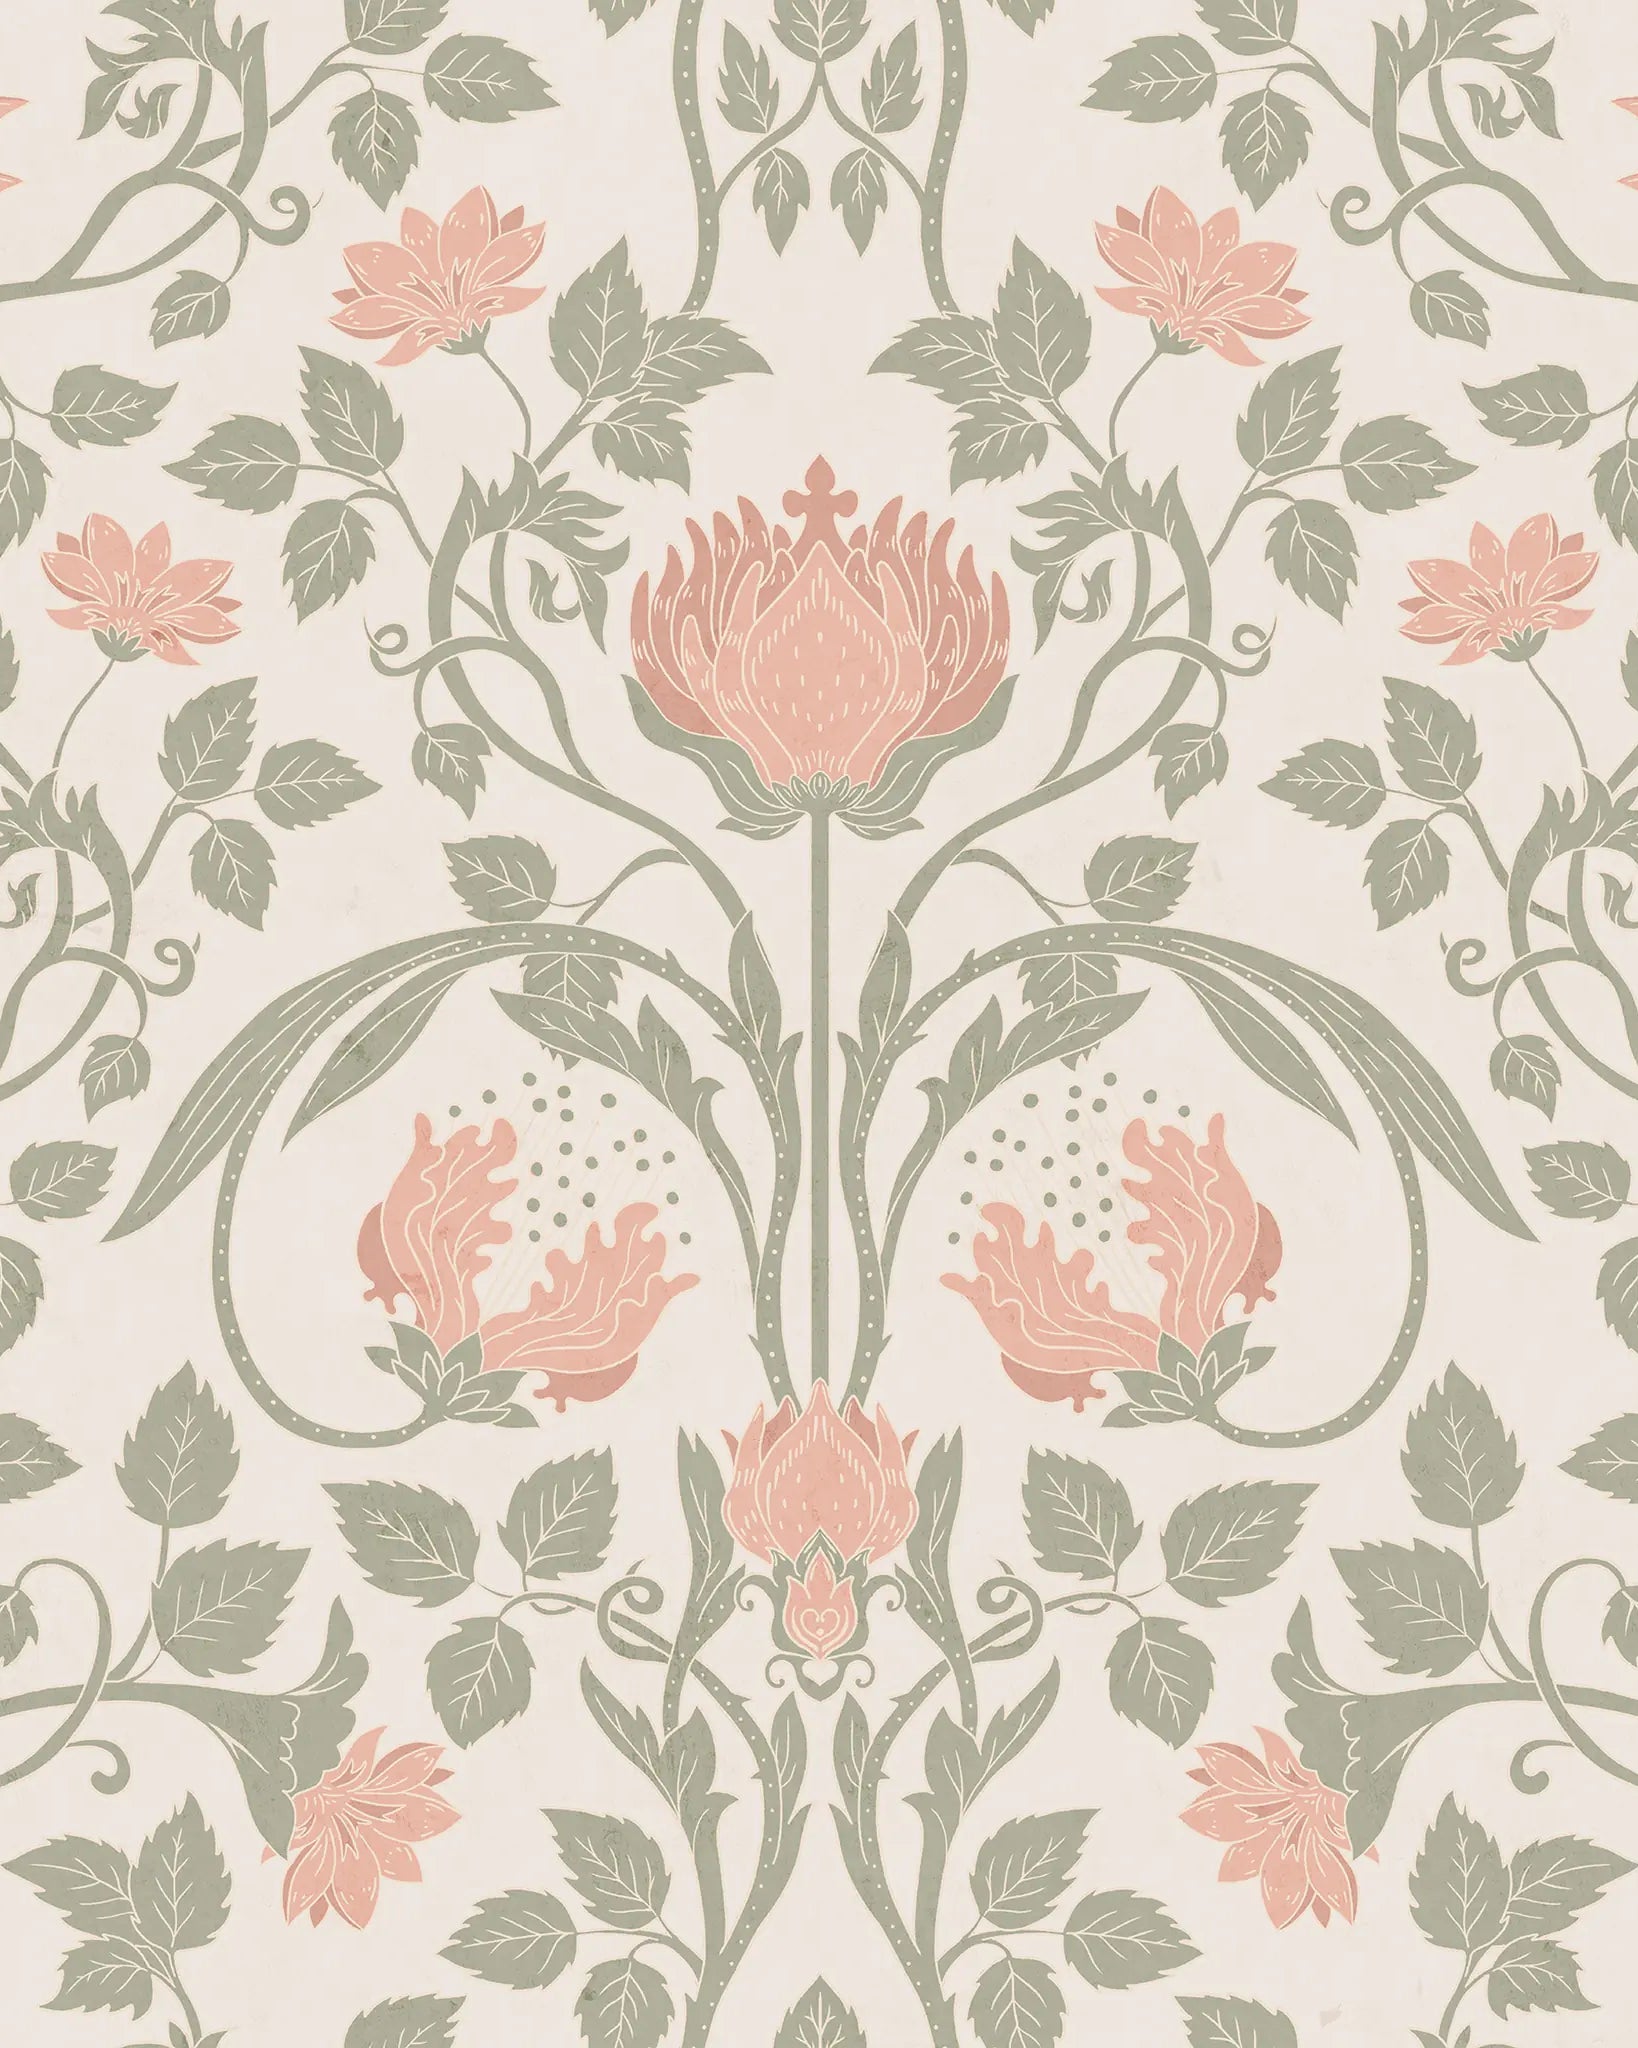
Looking for Wallpaper Ideas?
Check out our Curated Designs - they are just a click away! 🌟
