


Are you ready to transform the look of your home with the timeless charm of traditional wallpaper? With the right tools, proper preparation, and a good technique, you can achieve professional-looking results without the need for a hired hand. In this blog post, we will guide you through the process of applying traditional wallpaper, providing you with essential tips and step-by-step instructions.
In This Blog:
- Preparing for hanging wallpaper
- Get an easy print
- Patience and Preparation for Perfect Results
- Find a partner
- Measure the room right
- Wallpaper calculator
- Calculate the number of rolls you will need
- Tools and supplies you will need
- Prepping the wall for hanging wallpaper
- Remove everything from the wall
- Fill in holes and level the wall
- Sand the walls
- Clean the wall
- Cover the walls with wallpaper primer
- Never hang wallpaper on unfinished drywall
- Never hang wallpaper on wet paint
- Hanging the wallpaper
Preparing for hanging wallpaper
Even though it is definitely possible to hang traditional wallpaper yourself, there are some things you need to keep in mind if you are going to attempt it.
Get an easy print
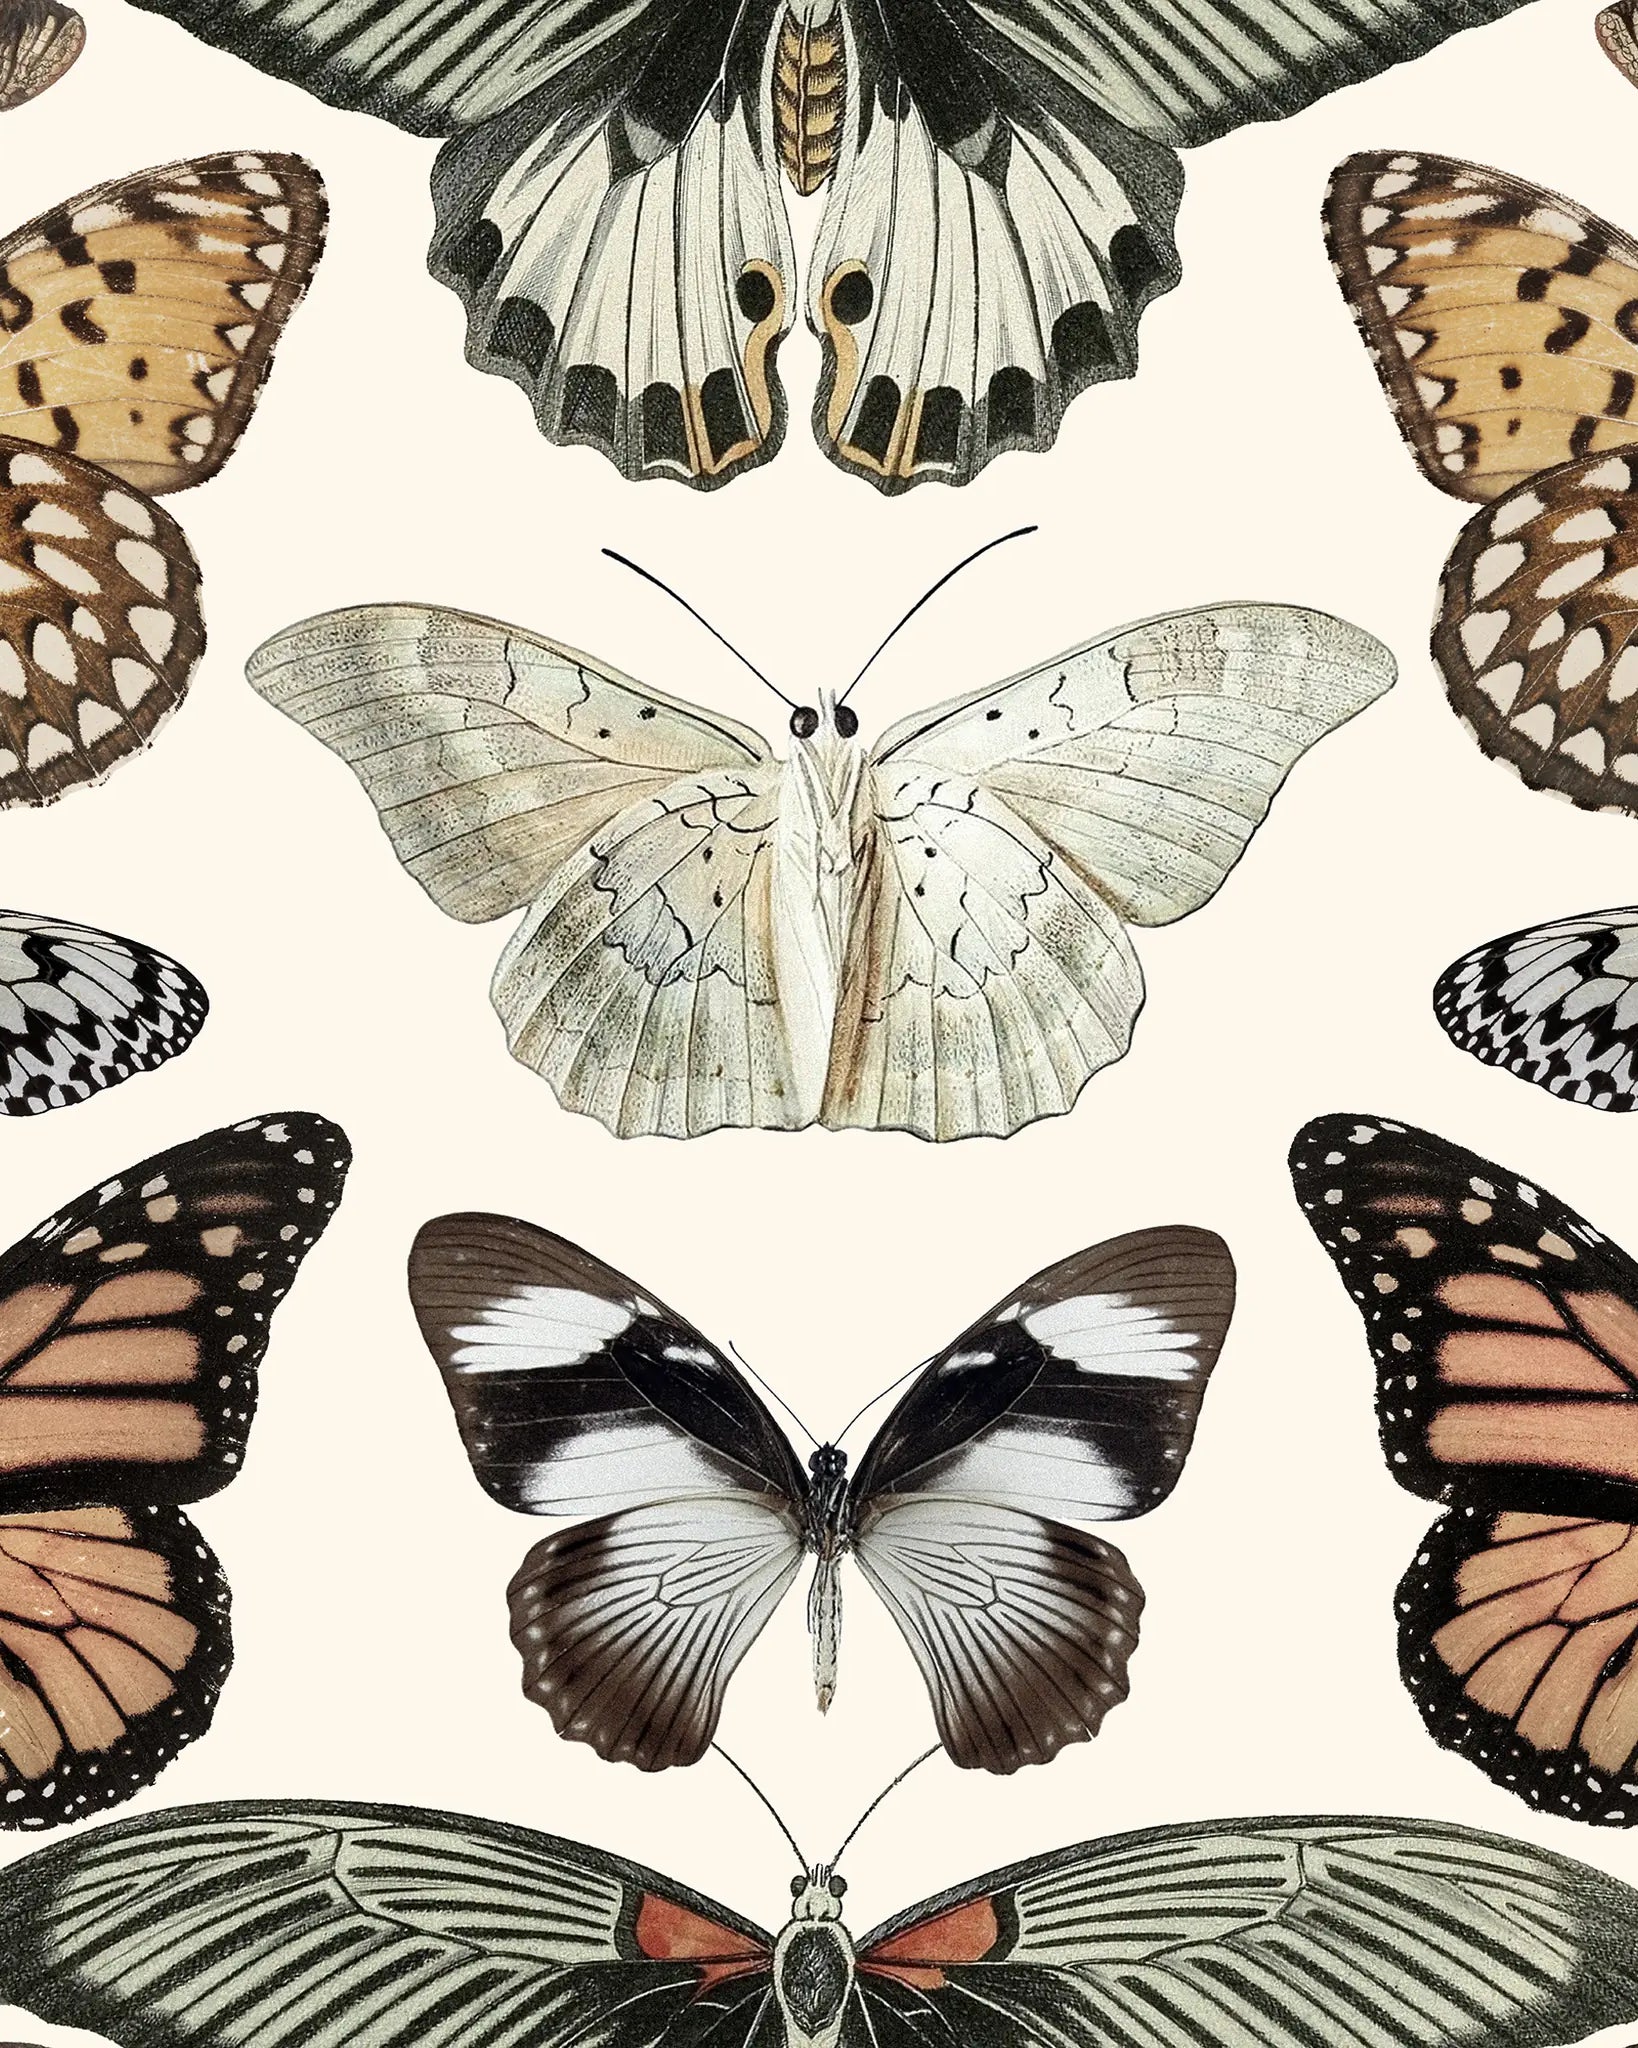
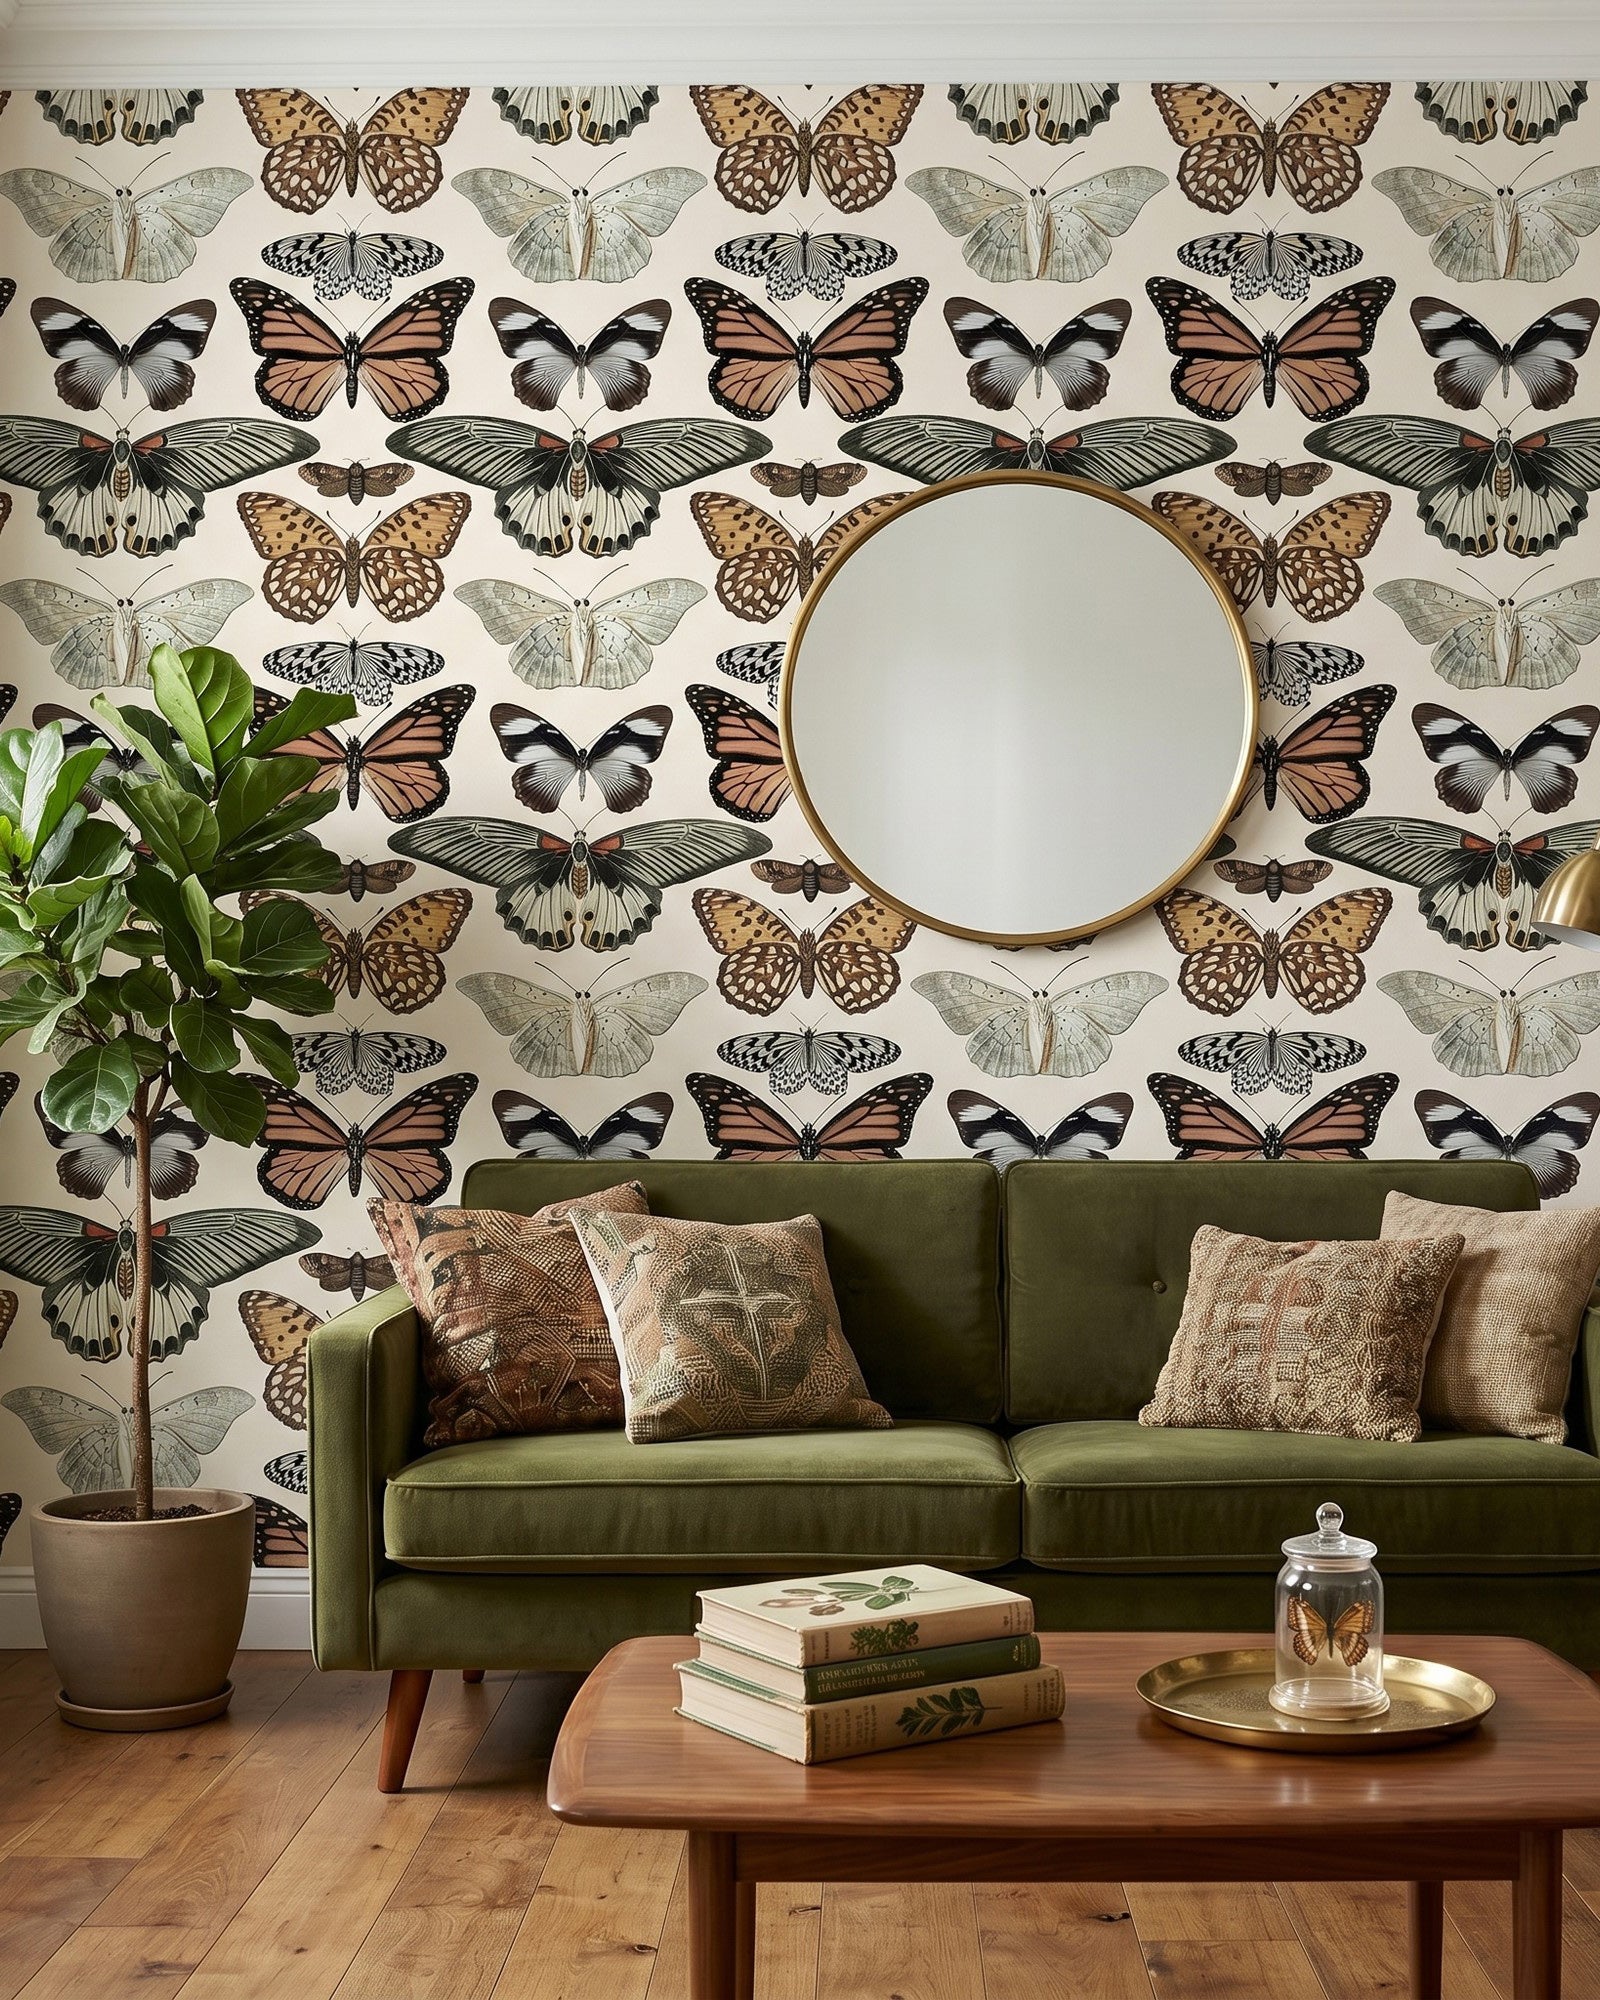
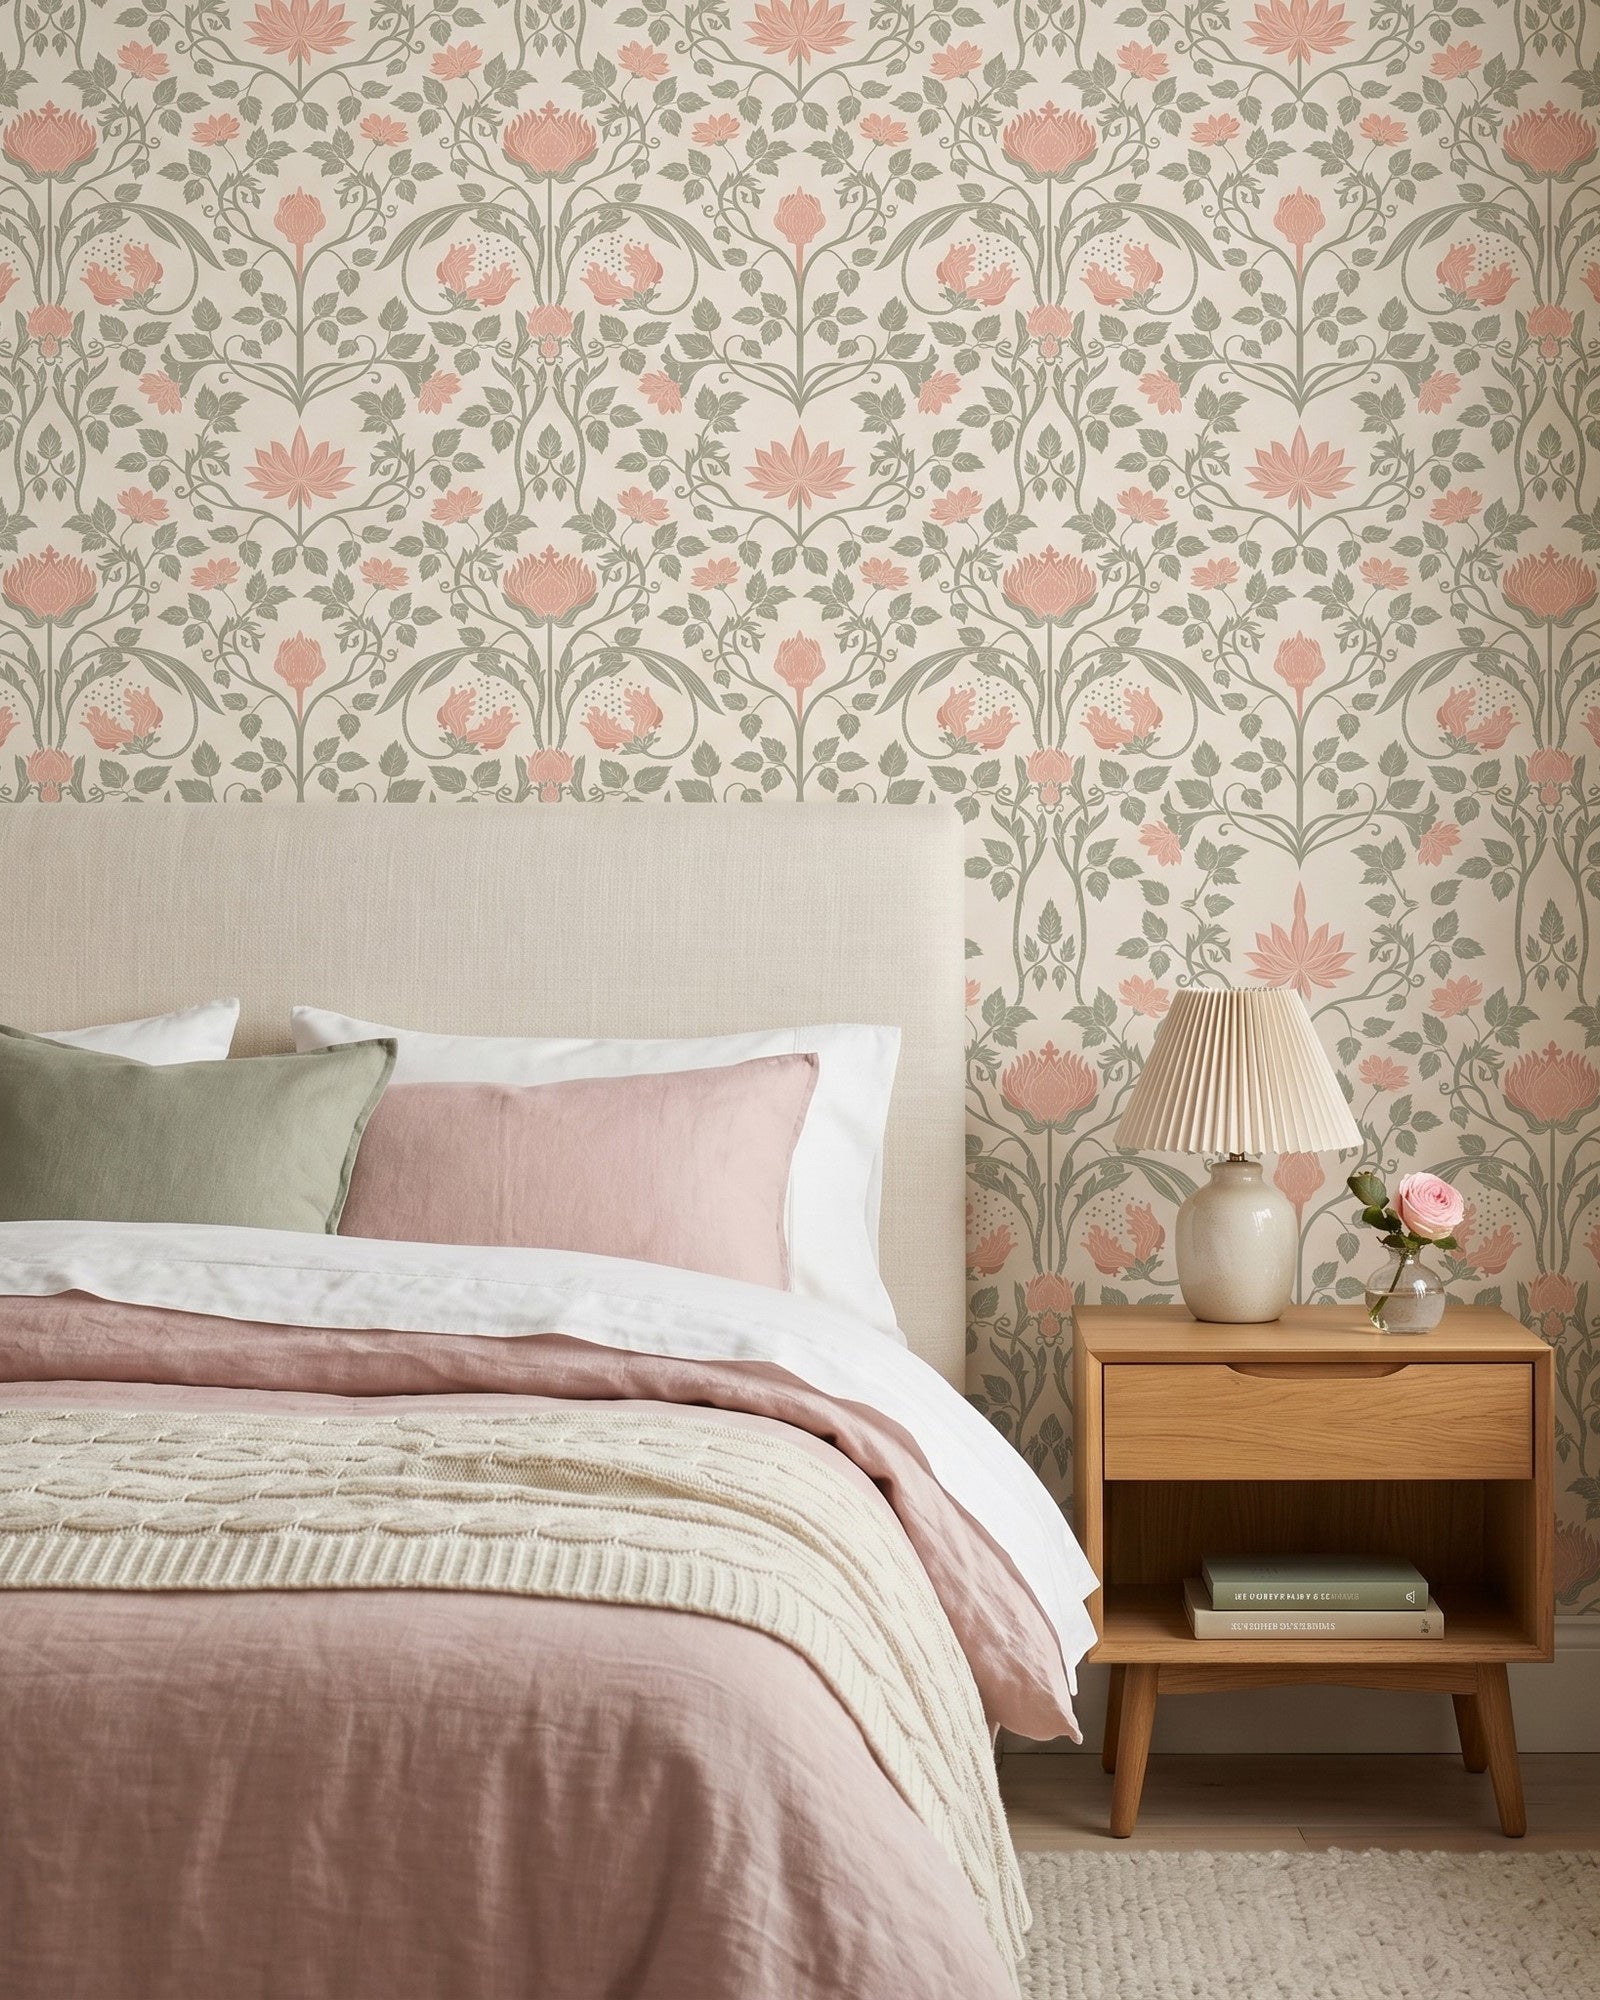
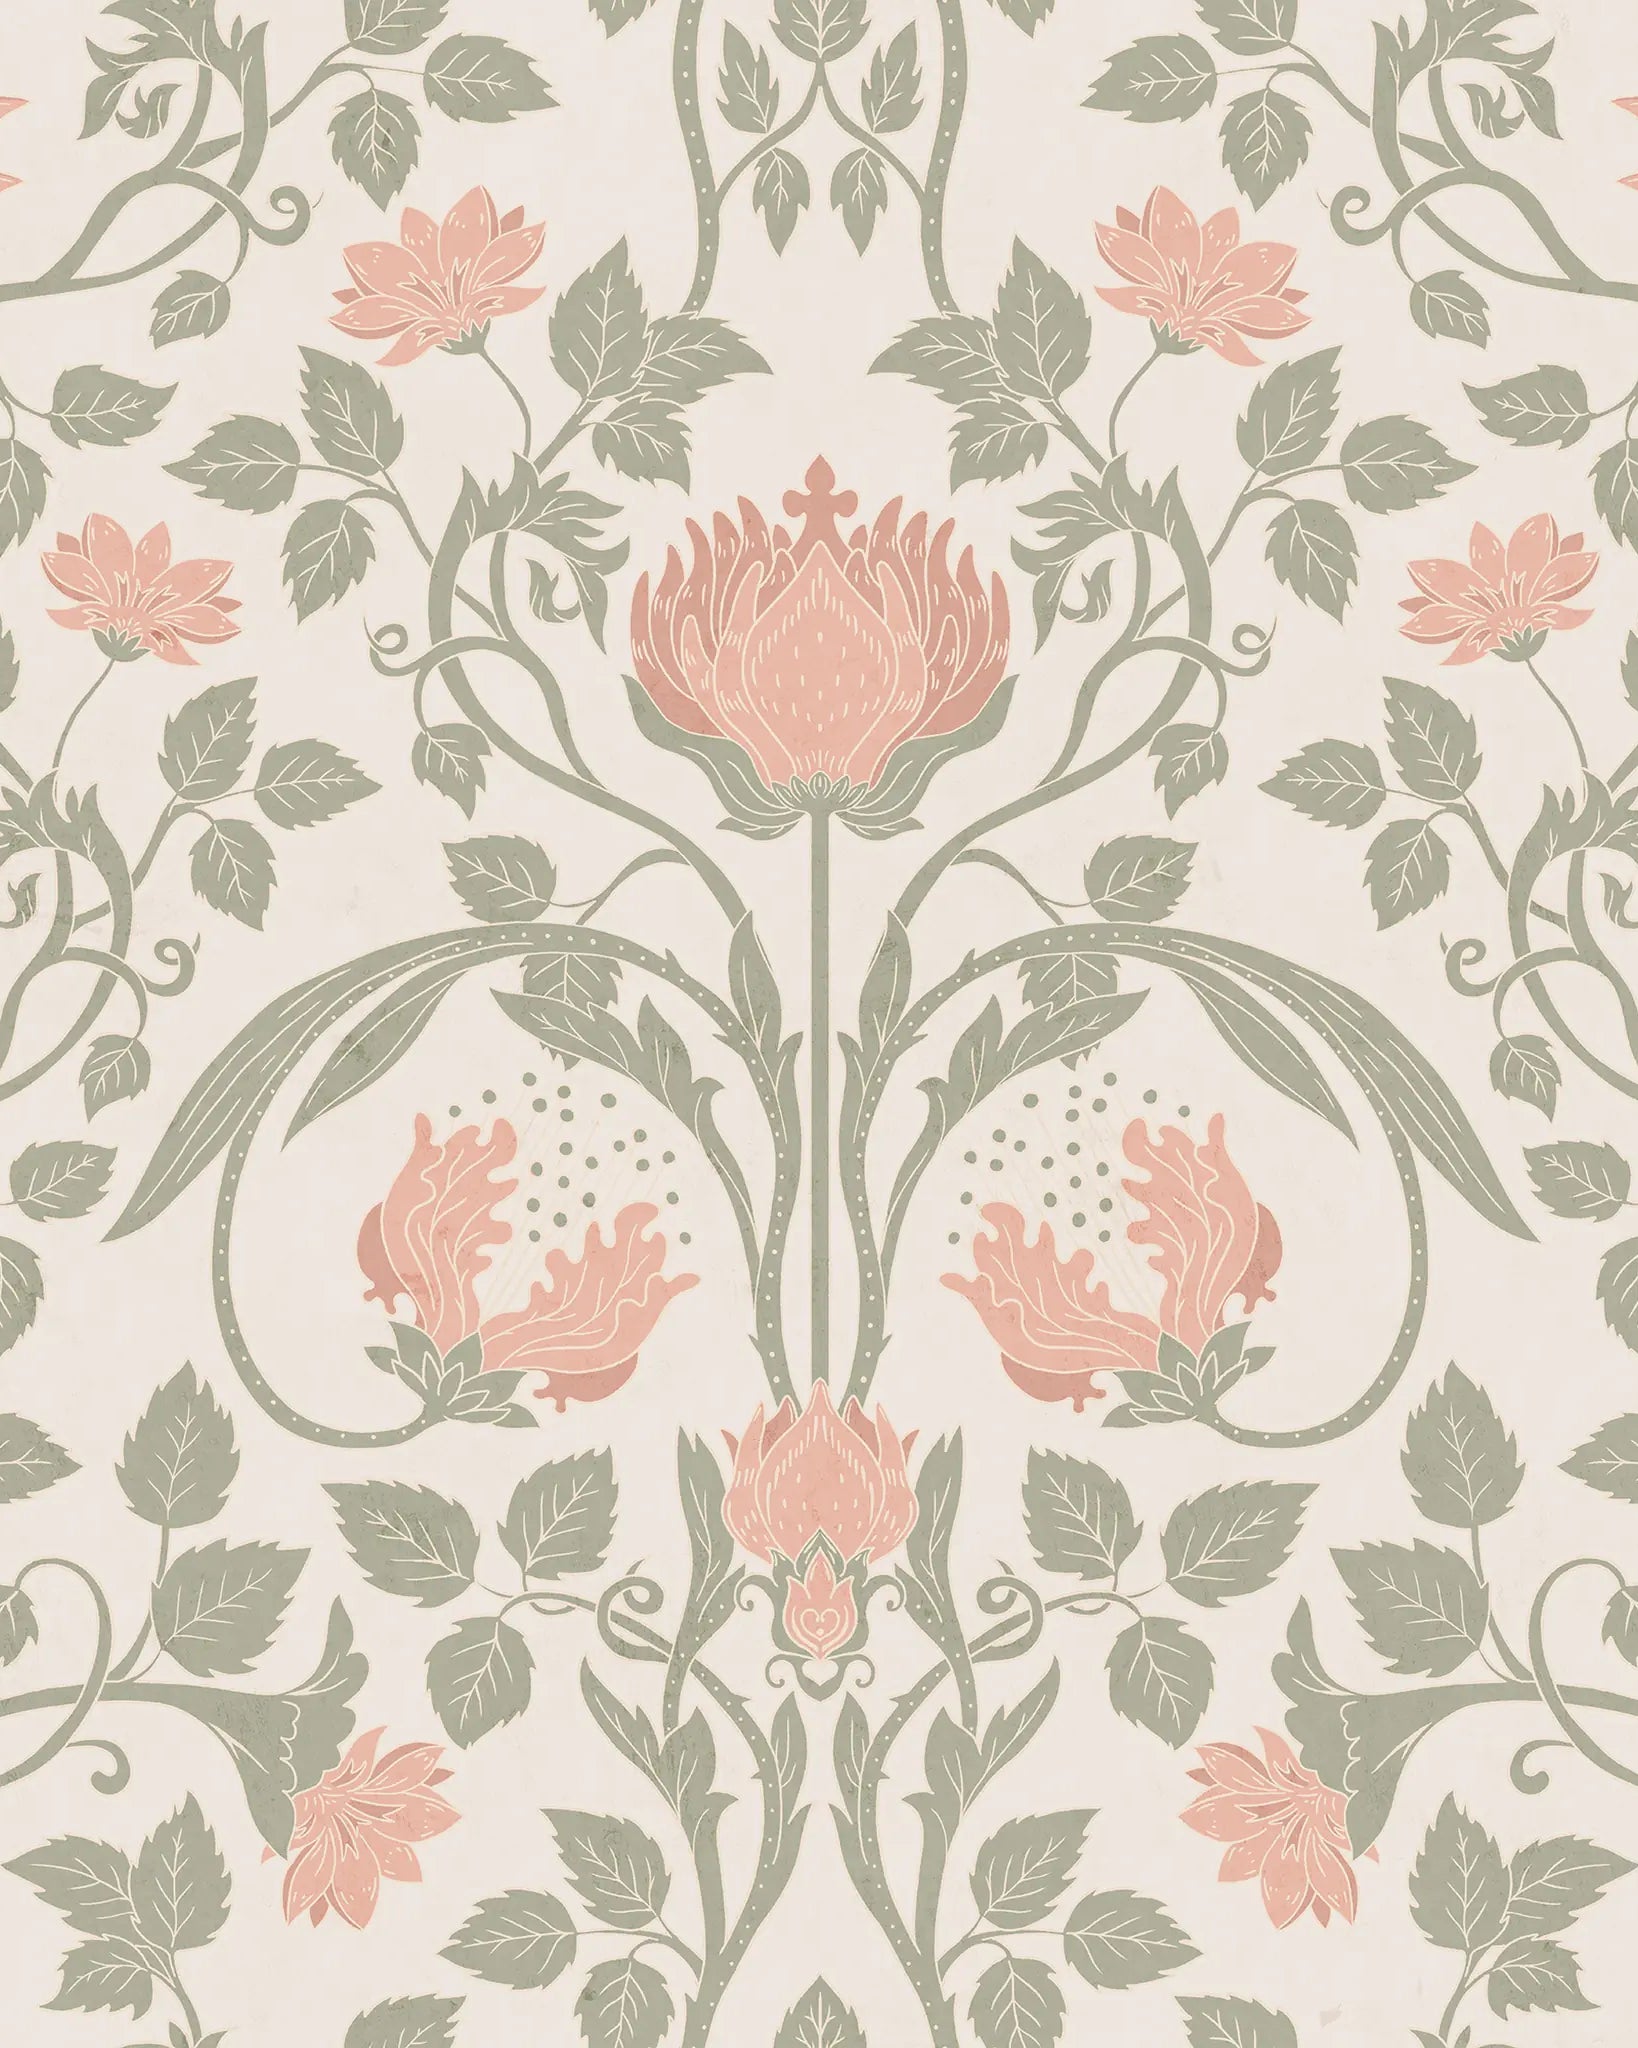
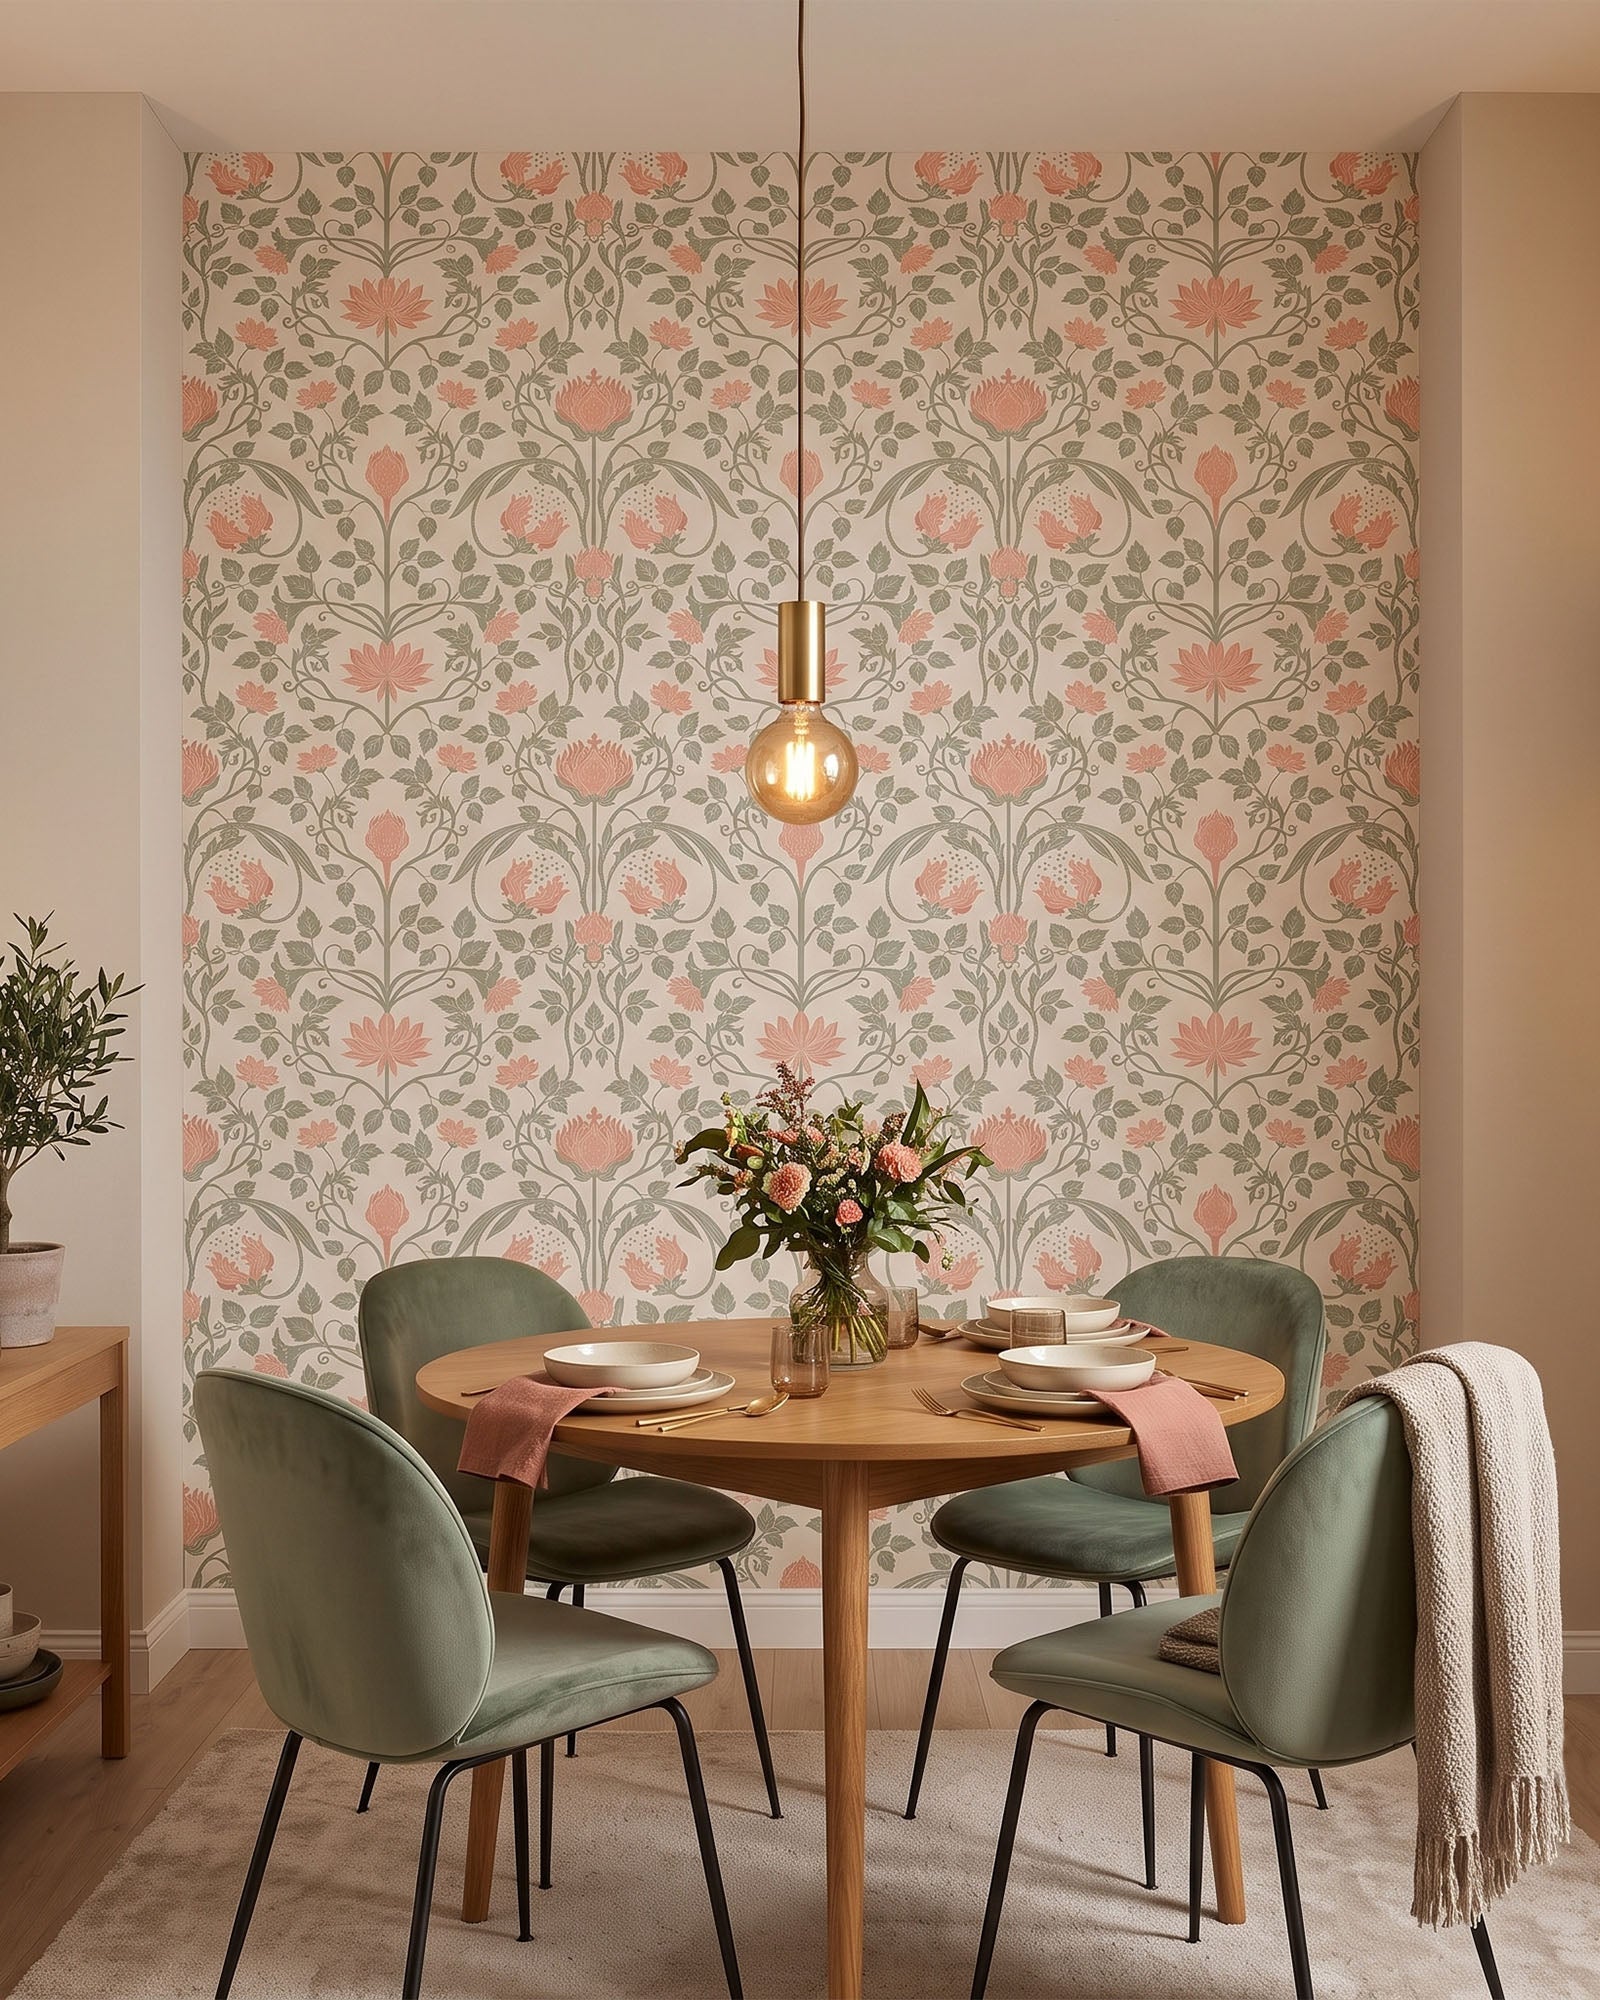
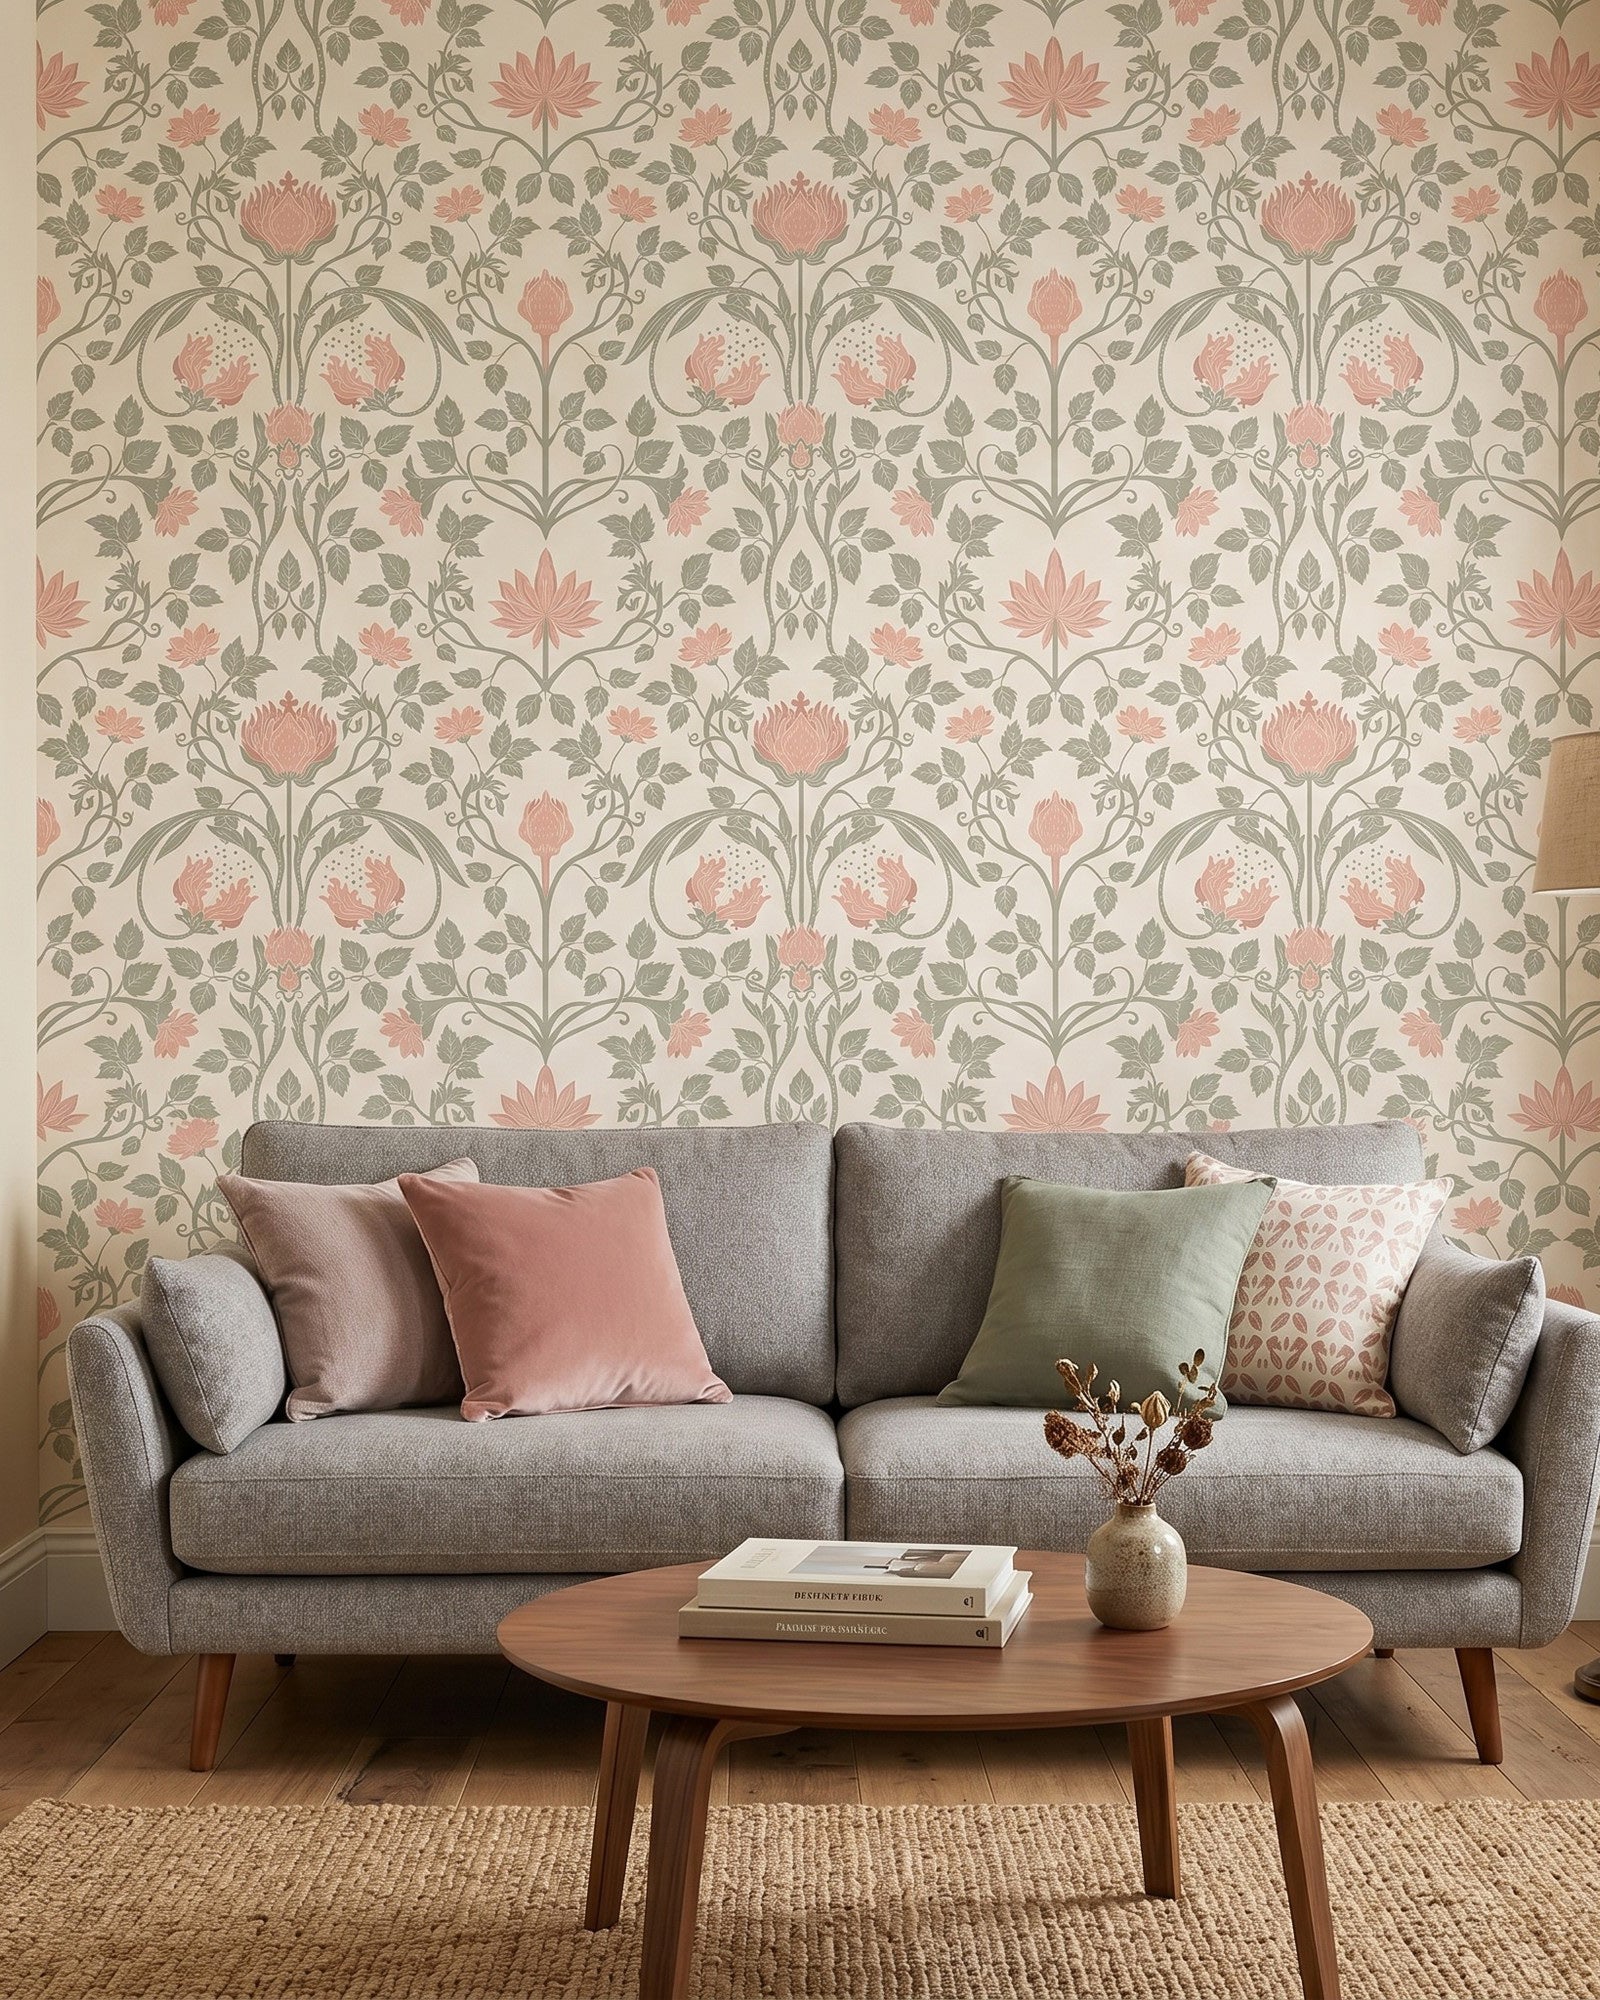
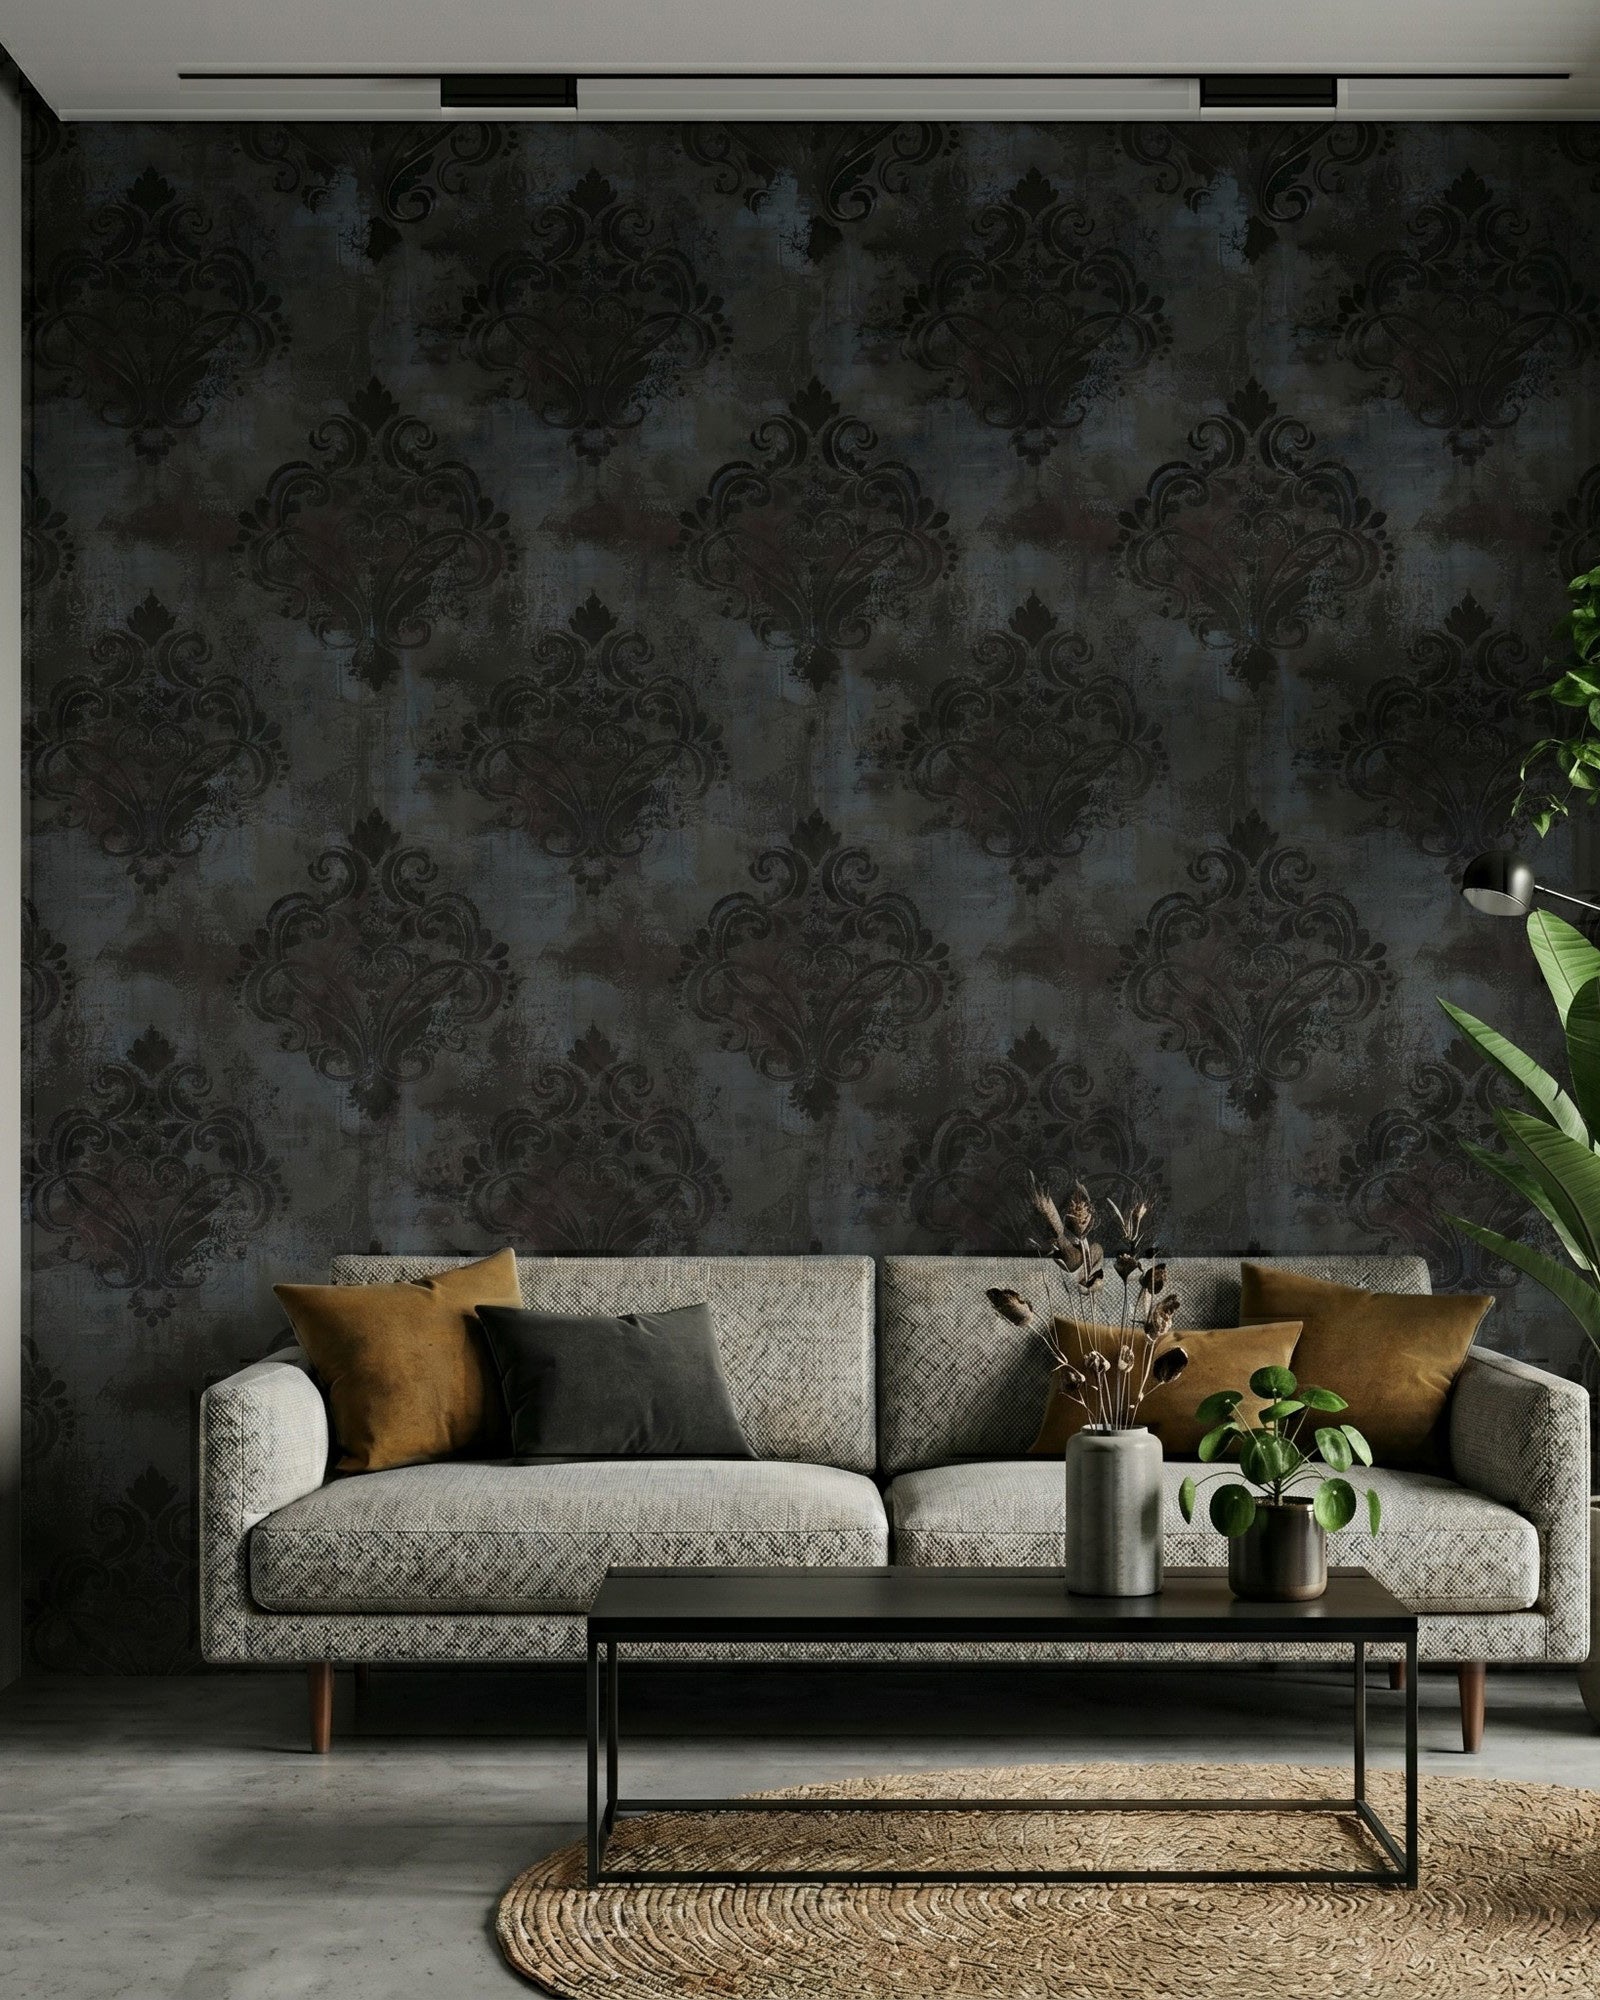
If this is your first time hanging traditional wallpaper it is best to start with an easy print. It is one that does not need to be measured and that has a repeated pattern that doesn’t need to be leveled. By choosing a pattern that doesn’t ask a lot of measuring and calculating, you set yourself up for success from the very beginning. Try one of these wallpapers: In the Spring Twilight, Decorative Floral, or Gallant Duke.
Patience and Preparation for Perfect Results
Hanging a wallpaper will ask for your patience. If you are not a patient person that can work well with small detailed tasks, maybe better consider hiring someone to hang your wallpaper. However, if you are, make sure you have slept well the night before, you have eaten, and have water and some snacks by hand. You can also play your favorite playlist to set the mood and make it a fun day of hanging wallpaper. Wallpaper hanging is a precise job that has to be done slowly and executed like in the saying “measure twice, cut once”. If you want to get great results you cannot rush it.
Find a partner
Even though you can hang wallpaper by yourself, it is best to have a partner especially if it is your first time hanging wallpaper. When evaluating which of your friends to ask for help, make sure they match the description of the previous paragraph – they need to be someone who is patient, ready to learn, and can do things slowly and precisely. Preferably they are someone who is not afraid of heights, since at least one of you will need to step on the ladder to reach the top of the wall.
Measure the room right
Before even attempting to hang wallpaper, you need to purchase it. And before you purchase it, you need to measure your room and calculate how much wallpaper you will need. To get the right amount of wallpaper for your room, you can use the wallpaper calculator or calculate the number of roll yourself.
Wallpaper calculator
1. Measure the walls (height and width) where you will need to hang wallpaper
2. Input the measurements in our wallpaper calculator (you can find it on every wallpaper page)
3. As a result, you will get the exact number of rolls or sheets you need to wallpaper your room
Calculate the number of rolls you will need
1. Measure the room (height and width)
2. Calculate the square footage you need to cover
3. Check the manufacturer's data about the wallpaper – how wide is it, how long is one sheet, or how long a roll is.
4. According to the gathered data calculate how much wallpaper you will need for your square footage.
• For example, if a roll is 21 inches wide and 16.5 feet, you have 28,88 square feet of wallpaper in one roll.
• If you want to cover a wall that is 9 feet high and 10 feet wide, that is 90 square feet you need to cover it with wallpaper.
• To calculate how many rolls of wallpaper you need you have to divide the 90 square feet by 28.88 which is 3,11 rolls. So in this case it would be best to purchase 4 rolls of wallpaper because you always need to account for some overlay, mistakes, etc.

Tools and supplies you will need
When it comes to hanging traditional wallpaper, having the right tools and supplies is essential for a smooth and successful installation. Here's a list of the tools you'll need:
1. Sandpaper: This is useful for smoothing any rough patches or imperfections on the wall surface before applying the wallpaper.
2. Hole-fixing materials: Prepare materials such as spackle or putty to repair any holes or cracks in the wall. A putty knife can also be handy for applying the filler.
3. Wallpaper primer: Applying a wallpaper primer helps create a smooth and adhesive-friendly surface, enhancing the wallpaper's adhesion and durability.
4. Paint roller: Use a paint roller to apply the wallpaper primer evenly across the walls, ensuring comprehensive coverage. You will also need a paint roller for applying wallpaper paste.
5. Plastic or drop cloth: Lay plastic sheets or drop cloths on the floor to protect it from any paste or debris that may fall during the wallpapering process.
6. Cardboard or other surface to cut wallpaper: If you are cutting wallpaper with a paper knife make sure you have a proper surface where to do it. You don’t want to damage your floors!
7. Measuring tape: Accurate measurements are crucial for properly cutting the wallpaper and determining the amount needed for each wall. A measuring tape will be your go-to tool for this task.
8. Leveler: A leveler or spirit level is essential to ensure that your wallpaper is applied straight and aligned correctly. This tool helps avoid uneven or slanted installations.
9. Screwdriver: Use a screwdriver to remove any fixtures, such as switch plates or outlet covers, that may hinder the wallpaper's application.
10. Sponges: Sponges are handy for various tasks during the wallpapering process, such as cleaning the wall surface, removing the excess paste, or dampening the wallpaper when required.
11. Paper knife: A sharp paper knife or utility knife is necessary for precise and clean cutting of the wallpaper, especially when trimming excess edges.
12. Scissors: Along with the paper knife, a pair of scissors is essential for cutting the wallpaper to the appropriate lengths and shapes, especially when dealing with intricate patterns or corners.
13. A plastic smoother: A plastic smoother or wallpaper brush helps remove air bubbles and ensures the wallpaper adheres smoothly to the wall, creating a professional finish.
14. Wallpaper adhesive/paste: The specific adhesive or paste recommended for the type of wallpaper you're using.
15. Bucket: Holds water for activating pre-pasted wallpaper or for rinsing sponges.
Prepping the wall for hanging wallpaper
Before hanging the wallpaper, you need to prepare the wall. The wall needs to be clean, without any decors or other elements, smooth and primed.
Remove everything from the wall
First start by removing big things from the wall – paintings, mirrors, shelves, light fixtures, etc. Once that is done move on to smaller items – electric outlet covers, and light switch covers. If possible, remove the radiators and the skirting board.
Fill in holes and level the wall
For a smooth wallpaper look, the next step is to fill in the holes. Use a spackle or joint compound from a local construction store. Fill in the holes, gaps, and other cracks in the wall with the filler. Use a spatula or putty knife. Smooth it all out so it is level with the rest of the wall. Make sure you read the instructions on the specific product to know how long it needs to dry.
Sand the walls
After the filler has dried and the wall has no cracks or holes, it is time to sand the surface. It will ensure that the wall is smooth, has no bumps, and has no residue from past projects. Use sandpaper with a fine grit, for example, between 1200 and 220. When sandpapering do it lightly and don’t go overboard. You don’t want to damage the wall.
Clean the wall
Once you have done sanding the wall, make sure you clean it with a damp cloth or sponge. Try to not make it very wet. The wall needs to be clean without any debris and sanding residue.
Cover the walls with wallpaper primer
And the last step to ensure that the wallpaper will stick to the wall well and stay there is to cover the wall with wallpaper primer. Use the paint roller to apply it and leave it dry. Follow the instructions for the specific product to achieve the best results!
Never hang wallpaper on unfinished drywall
Remember to never hang wallpaper on unfinished drywall because the wallpaper will stick to the drywall forever. It won’t be possible to remove it without damaging the drywall. The drywall has to be painted or primed before applying wallpaper.
Never hang wallpaper on wet paint
Never hang wallpaper on wet paint. If you have painted the wall prior to hanging wallpaper, make sure the paint is completely dried before applying wallpaper. Otherwise, the wallpaper won’t stick to the wall and will peel off very soon.
Hanging the wallpaper
Once all the preparations are done, you can get to hanging the wallpaper.
Figure out the pattern
Before you cut the wallpaper to the size of the wall, pay attention to the pattern and figure out do you have to match the pattern. For example, if the pattern has a branch that needs to be continued from one wallpaper sheet to the next, you need to take that into account and match the wallpaper sheets accordingly.
Cutting the wallpaper
When you have figured out the pattern it is time to cut the wallpaper. It is better to cut the sheets a little longer than you need for the wall – add an allowance of 2–3 inches to every sheet of wallpaper. If you have a pattern that you need to match, lay out the sheets next to each other and cut only when the pattern is matched. If you have to cover a lot of walls with wallpaper, don’t cut all the sheets at once but do it in batches.
How to cut wallpaper
It is important to cut the wallpaper in a straight line. It is best to use a pencil and draw a light line where you need to cut. Make sure you use a ruler or angle tool to make the line perfectly perpendicular to the vertical side of the wallpaper. If the wallpaper is too dark, you can flip it to the other side, so you can see the line better. Just make sure, the floor is clean.
To cut the wallpaper use sharp scissors or a sharp utility knife. If you use a utility knife make sure the surface you are cutting on is safe for using a knife. it is best to use cardboard or similar material. You don’t want to cut on your floor since you will damage it with the knife!
This is definitely the moment to let your perfectionism shine – measure twice, and cut once. Once cut, there is no coming back.
Create a level line
Parallel or after cutting the sheets of wallpaper create a level line on the wall. You don’t want to measure the first sheet of wallpaper by the corner or ceiling. Even though they might look straight, the truth is that more often than not they are slightly tilted, have dents, and overall don’t form a perfect straight line. If you equalize your wallpaper by corners and the ceiling, chances are you will hang the wallpaper crooked and that is not the look you are going for.
To avoid that, use a leveler to mark a horizontal line on the top of the wall where the wallpaper will start and to mark a vertical line where you will hang the first sheet of wallpaper. If you are doing the wallpaper from left to right, then draw the vertical line on the left of the first sheet.
Pay attention to corners!
If you are wallpapering two perpendicular walls, make sure you cover the corner with one sheet of wallpaper. Create a small overdraft of 1 inch on the next wall. If you make the wallpaper meet right in the corner, there is a possibility that it will start to peel and won’t have a smooth finish.
Pasting the wallpaper
Once you have done all the cutting and you have the level line on the wall, it is time to start pasting the wallpaper. Choose a paste that is recommended by the wallpaper manufacturer. If there are no recommendations, when choosing a paste, consider these tips: 1. The pre-mixed paste will work for the majority of wallpapers. 2. Powdered and heavy-duty wallpaper paste is better for heavier wallpapers that are made from vinyl or have a texture. 3. Some wallpapers come with already-added adhesive to the back that you need to moisturize to activate.
Lay the wallpaper on the floor with the pattern side facing the floor. Use a paint roller to add the glue. You can also use a brush, but a paint roller will help you spread the glue more evenly throughout the whole wallpaper sheet.
Booking wallpaper sheets
Cover half of the wallpaper sheet with glue, then fold the glued wallpaper on itself. Don’t press the folded edge, leave it round. Then add glue to the other half of the wallpaper sheet, and do the same. You will end up with a sheet of wallpaper that ends meet in the middle. This process is called booking. It lets the glue set in and as added bonus, you can add glue to the whole sheet of wallpaper without one side already starting to dry. Book the wallpaper sheet from 1 minute to 5 minutes. Don’t book it for too long though!
Traditional paper wallpaper will expand and contract!
Before you start the hanging process, be aware that traditional paper wallpaper will stretch after the glue is added. The glue makes the wallpaper soft and adjustable. So, when you are hanging it, try not to stretch it yourself too much. Be gentle and attentive.
Don’t overlap the wallpaper sheets
it might feel tempting to overlap wallpaper sheets to ensure there are no gaps between the sheets, but the best practice is to not do it because wallpaper won’t stick on wallpaper. Especially if the material is glossy or has texture. The best way is to align the sheets next to each other perfectly.
Hanging the wallpaper
Start by unfolding half of the booked wallpaper. Level the top of the wallpaper sheet with the level line you draw earlier. Once you are satisfied with the spot, slowly stick the wallpaper to the wall starting from the top. Do it slowly and patiently. if you have a partner, ask them to hold the end of the wallpaper, so it doesn’t stick to the wall voluntarily.
Smooth out air bubbles with a dry sponge or a plastic smoother. If you use a plastic smoother make sure your wallpaper doesn’t have a texture and you are not damaging the wallpaper in the process. Do sweeping motions to the sides of the wallpaper to smooth out the bubbles. Once one section is bubble free and sticks well to the wall, keep sticking the rest of the wallpaper to the wall section by section.
When you reach the folded section, unfold it and keep going till the whole wallpaper sheet is added to the wall. If you have excess wallpaper, don’t cut it sheet by sheet, but cut it all at once when you have added all sheets to the wall. That way you will get a straight line and a higher-quality look.
Once you have added to the wall one sheet of paper, only then start to paste the next one. When adding the next sheet of wallpaper to the wall, pay attention to the pattern details so it aligns the right way.
Keep going until the whole surface is covered in wallpaper.
Cutting out details
Once you have added the wallpaper to the intended surface, cut out the details, for example, light switches, outlets, etc. If you don’t manage to cut them out beautifully, don’t worry. Afterward, you will add the covers, and they will mask the imperfections.

In conclusion
Adding traditional wallpaper yourself is definitely a doable job but it will ask for your patience and accuracy. Take it slow and make sure you have plenty of time to finish the task. Follow these steps and enjoy a beautifully decorated room that you created yourself!
