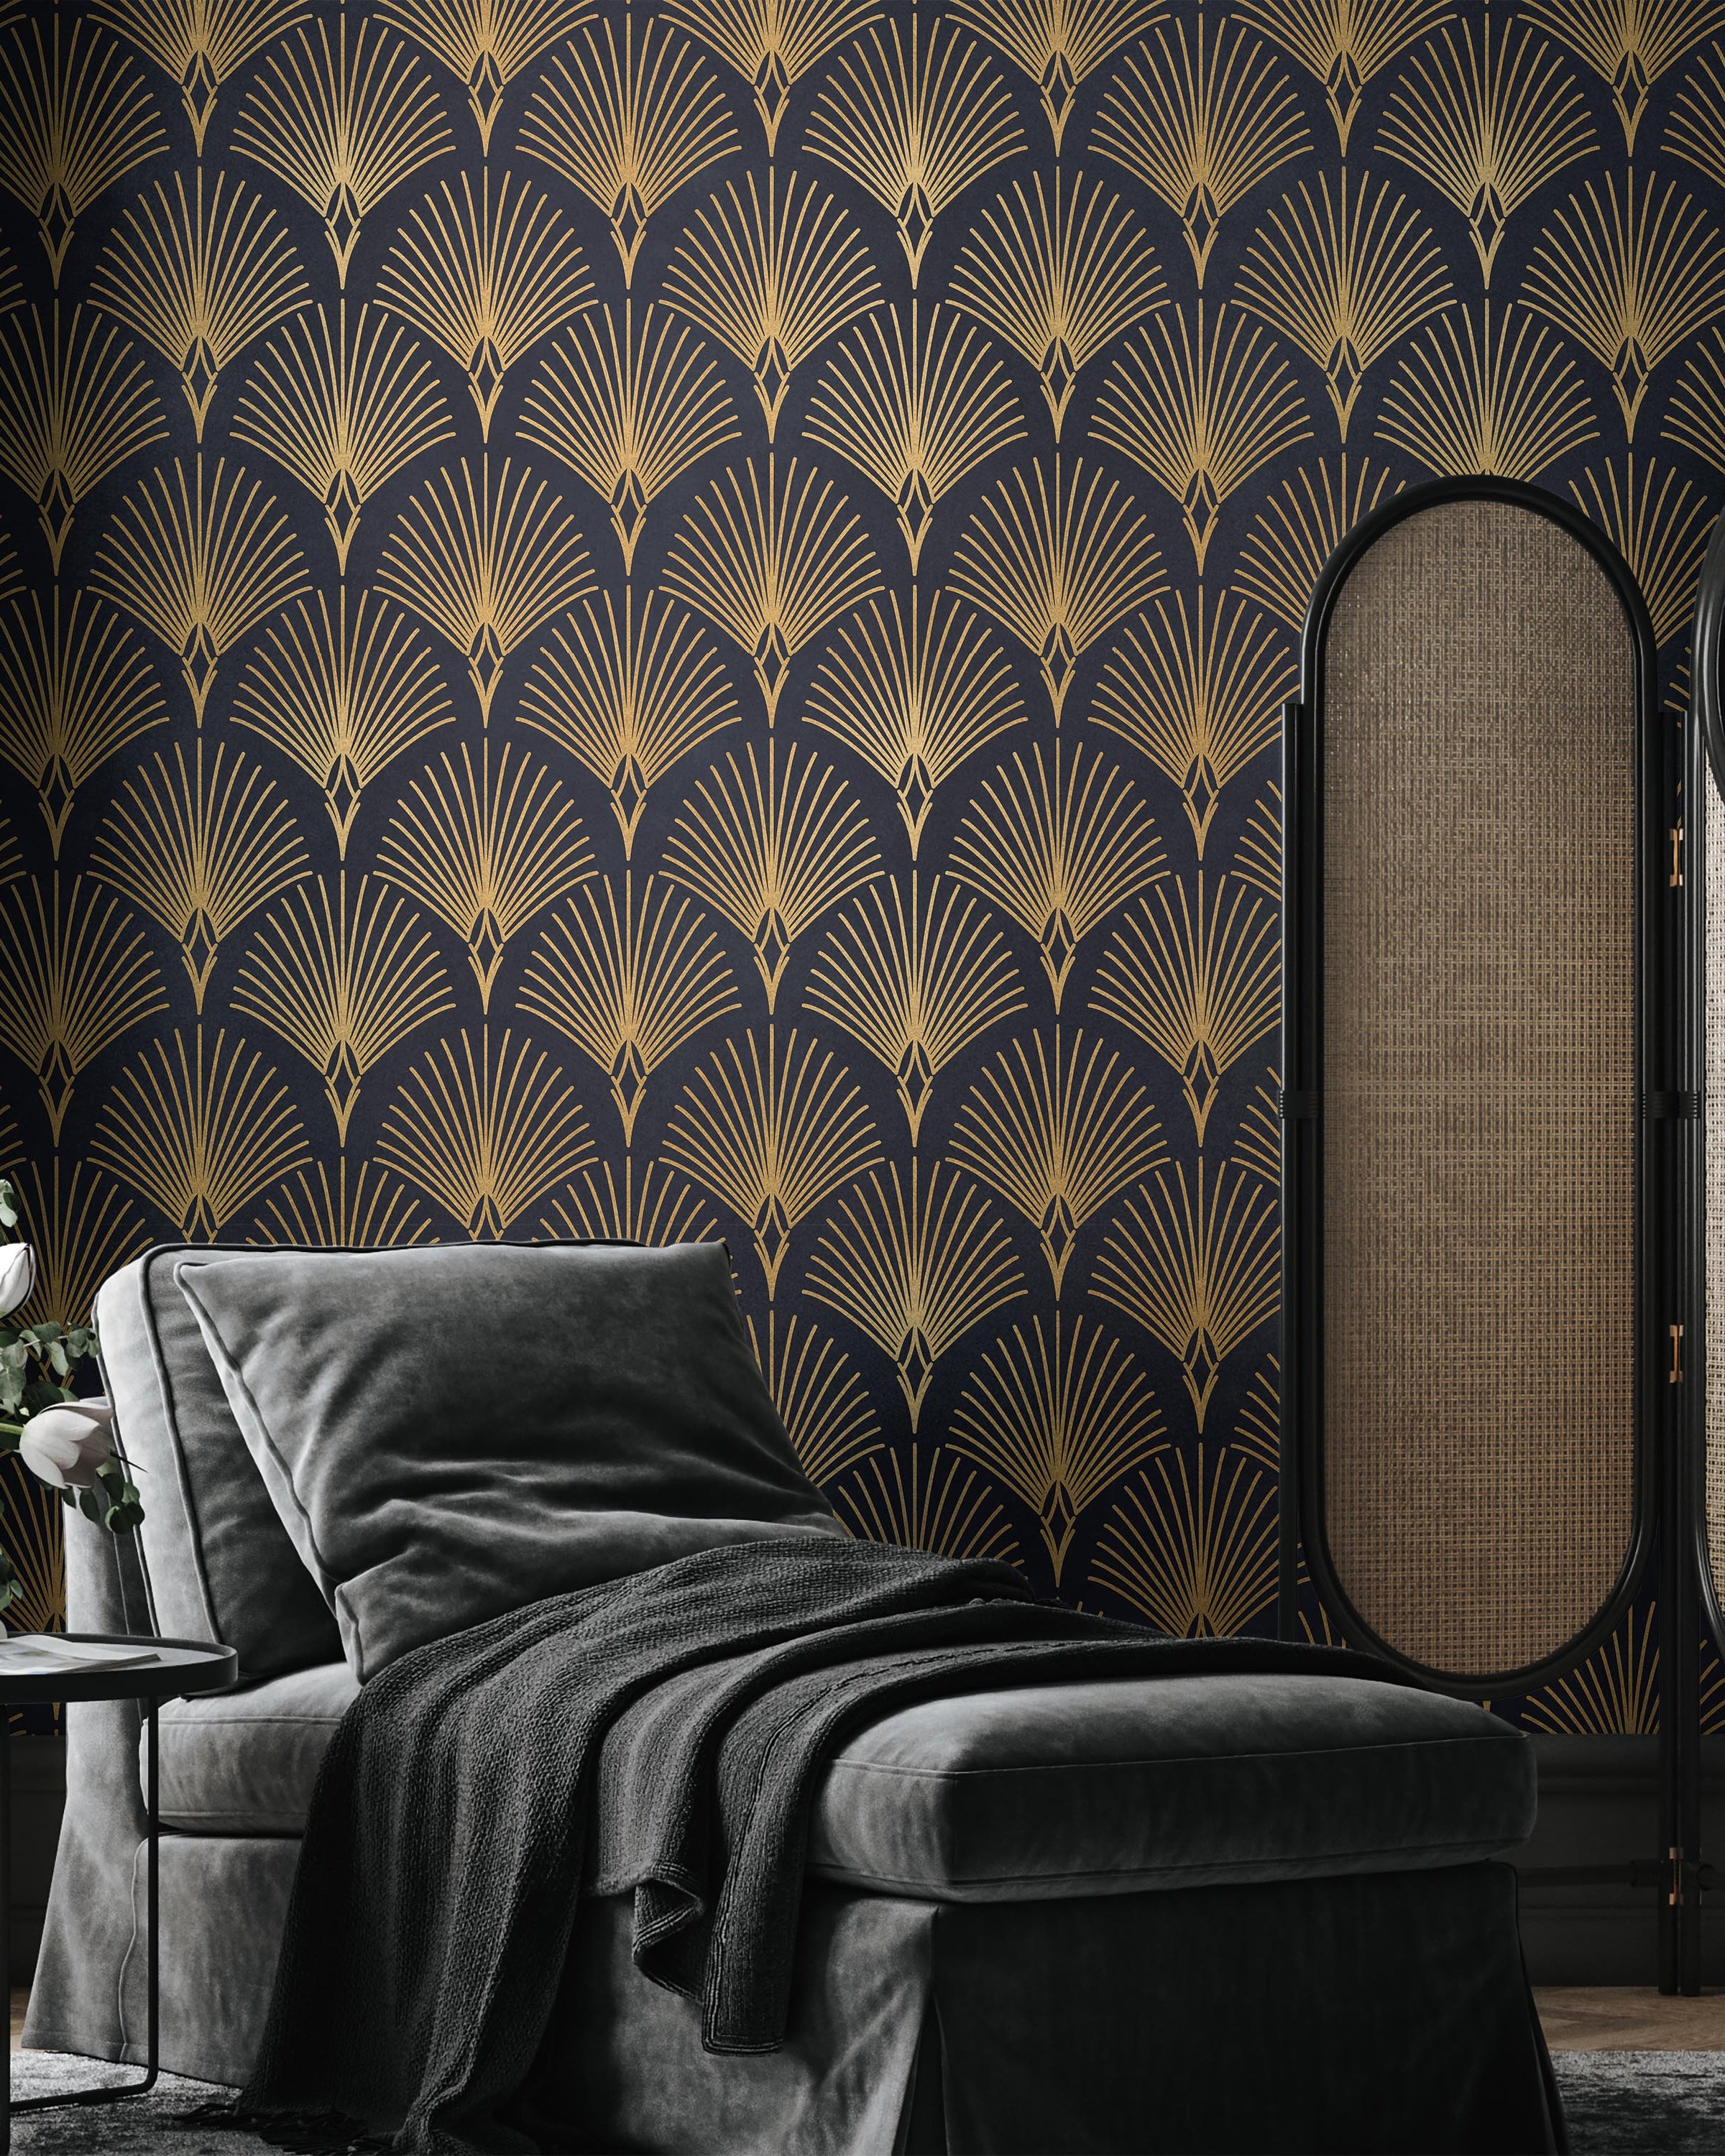
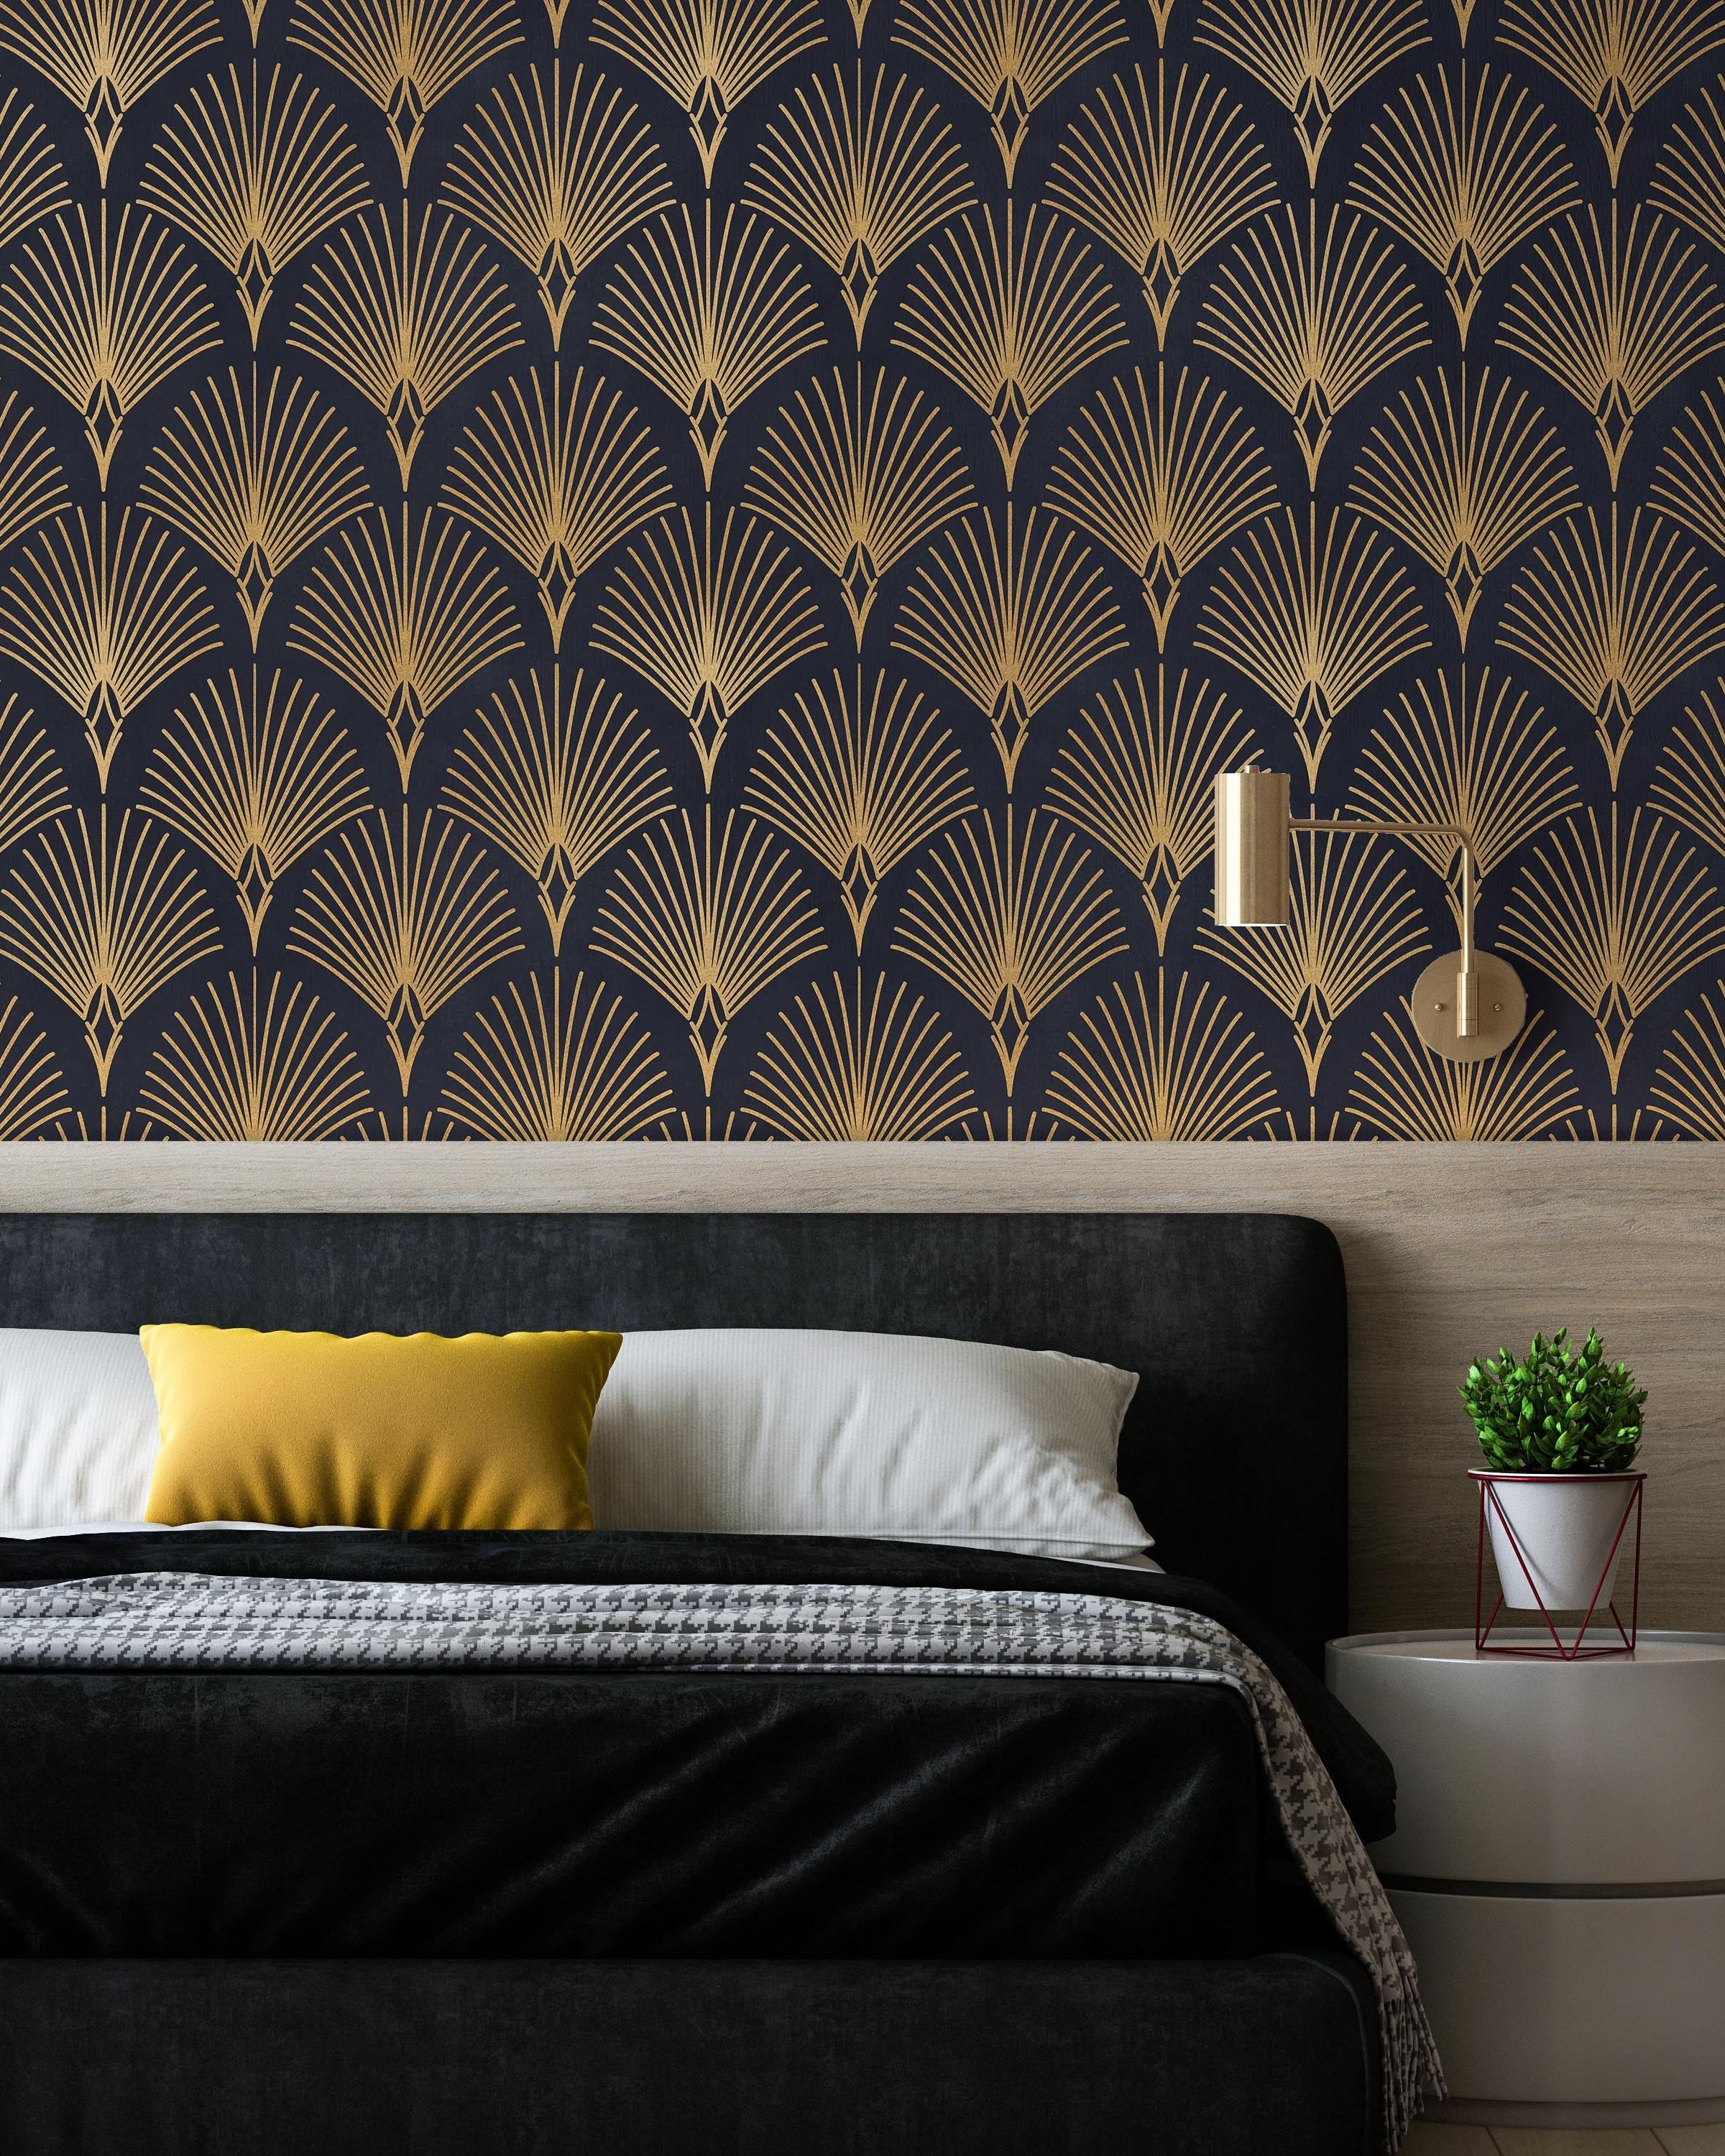
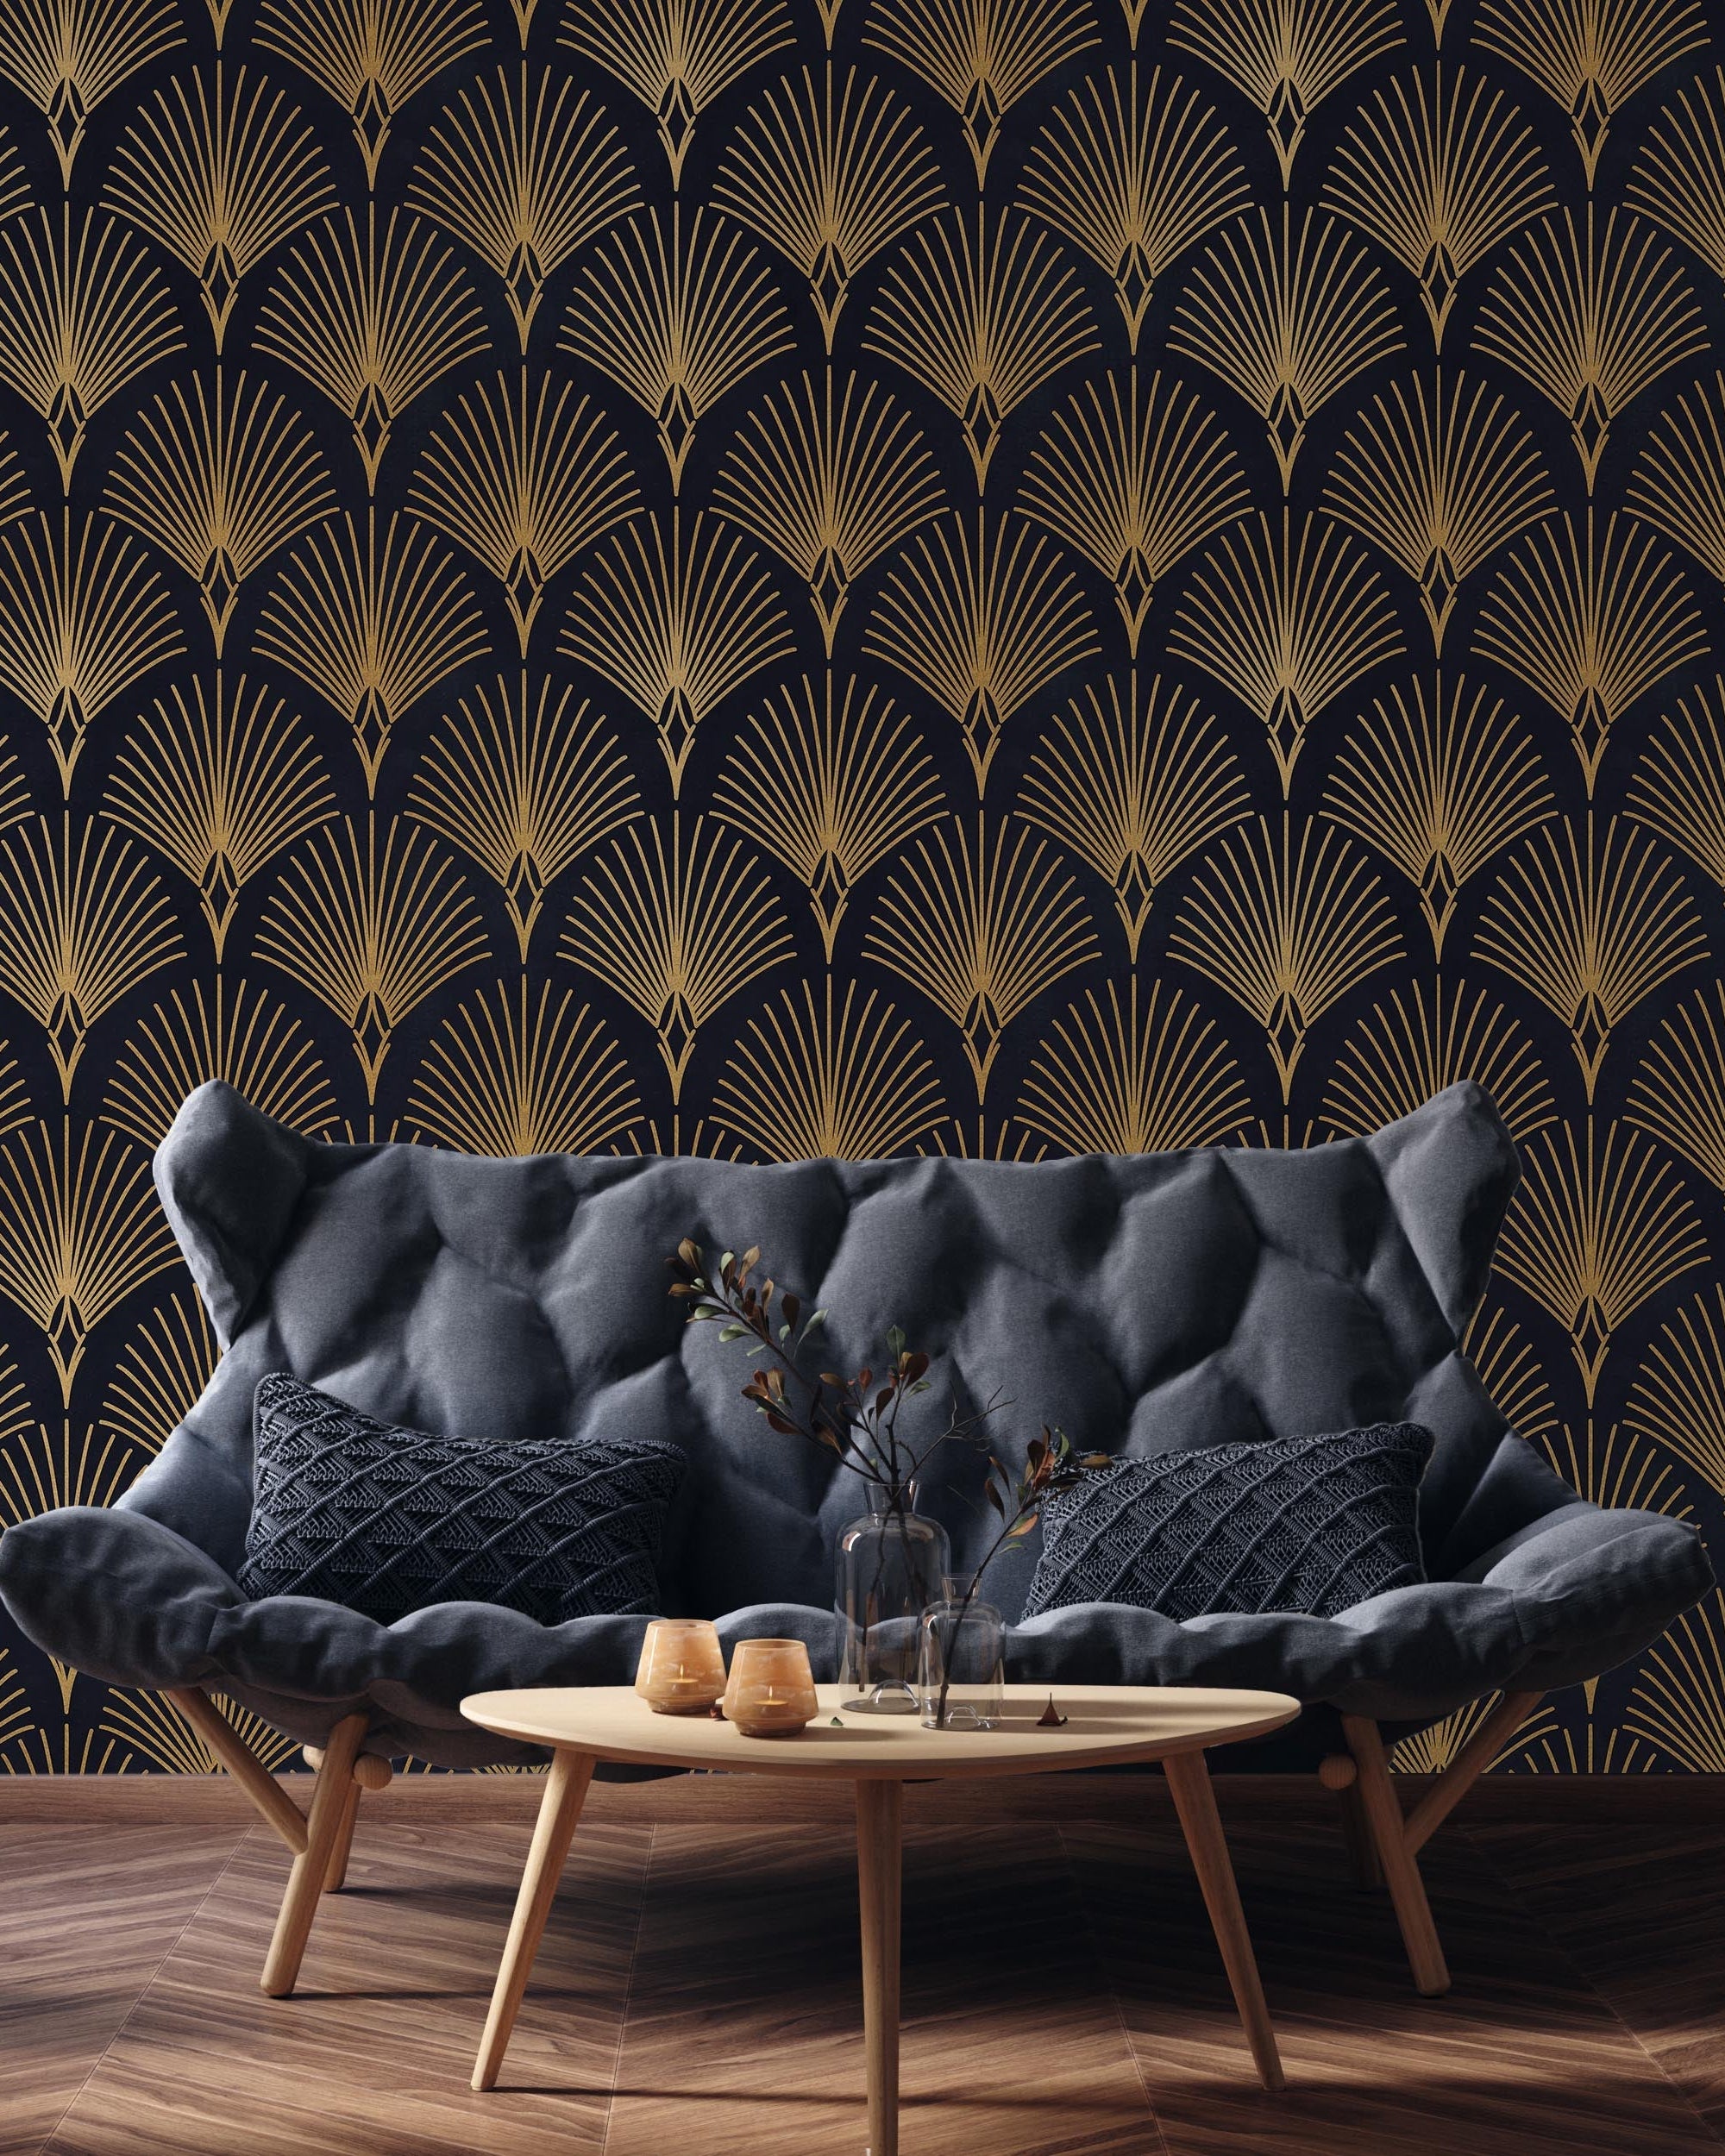


Peel and stick wallpaper has become the new era of wallpaper – relatively easy to hang, easy to remove, and easy to take care of. Follow this guide and learn all the tips and tricks on how to hang peel and stick wallpaper the right way. Let’s dig in!
In this blog:
- Is peel and stick wallpaper a good choice for you?
- Measuring the room, buying the correct amount of wallpaper
- How to prep for peel and stick wallpaper installation.
- Tools you will need
- Cleaning the wall
- Priming the wall
- Removing objects from walls
- Testing peel and stick wallpaper
- How to install peel and stick wallpaper
- Step 1 – make markings with a level tool
- Step 2 – get ready to install the peel and stick wallpaper
- Step 3 – stick the first sheet of wallpaper to the wall
- Step 4 – Smooth out bubbles
- Step 5 – apply the wallpaper to the bottom
- Step 6 – apply all the sheets
- Step 7 – cut what needs to be cut
- Step 8 – enjoy your new room!
- How to clean and take care of peel and stick wallpaper
- How to safely remove peel and stick wallpaper
Is peel and stick wallpaper a good choice for you?
First, let’s asses do your walls qualify for peel and stick wallpaper. Since peel and stick wallpaper is basically a big sticker, there are some instances when it is not advised to hang it. Usually, because of one of two reasons – either the peel and stick wallpaper will not stick to the wall or it might damage the underlying layer.
The wall should be smooth
The smoother the surface the better. If the wall has texture, the peel and stick wallpaper most likely won’t stay on. It happens because the textured elements are more outward and the wallpaper will only stick to those. So, the wallpaper won’t touch the wall at all, just the textured elements. It makes a very small surface area for the glue to stick on, so the wallpaper most likely will just peel off and won’t stay up.
Keep in mind though that if you have a wall with little texture, you should be fine. To test out your wall, you can purchase a sample of the peel and stick wallpaper you want to use, and check how it sticks to the wall.

The right finish for the wall
It is best if the underlying surface is painted with a satin, semi-gloss, or eggshell finish. All of them will make the surface extra smooth and will help the wallpaper stick to it.
Definitely do not put peel and stick wallpaper directly on drywall. Most likely, the wallpaper will stick so well to it, that you won’t be able to peel it off without damaging the wall. However, if you are in a situation where you need to put peel and stick wallpaper on drywall, make sure to use a paint primer first. It should help to keep your drywall untouched.
Avoid “wallpaper on wallpaper” situation
If you live in a rental where there is already wallpaper on the walls, unfortunately, most likely you won’t be able to use peel and stick wallpaper as a quick room refresher. Yes, you could apply peel and stick wallpaper on other wallpaper but most likely, when you peel it off, it will damage the underlying layer. That will happen if the wallpaper underneath has a paper finish. If it has a glossy finish or texture, the peel and stick wallpaper might not even stay on.
There are two options for how to fix it. Either use a primer on the wallpaper that is already on the walls or take off the previous wallpaper, smooth out the walls and paint them. The latter will give you the best results.
Measuring the room, buying the correct amount of wallpaper
With a measuring tape measure the height and width of the wall you want to apply the wallpaper. Make sure you measure only the area where you intend to apply wallpaper, so don’t include baseboards and moldings in these measurements.

After you have measured the walls, there are two options. Either you use our calculator to easily get the right amount of wallpaper you need, or calculate how many sheets you will need by yourself.
How to use the calculator
1. Choose the units of measurement (inches or centimeters) 2. Choose the type of wallpaper (peel and stick or traditional) 3. Enter the height and width of the wall (For metric system users, notice that you need to put the wall measurements in centimeters! For example, a wall of 2 m in height will be 200 cm) 4. Voila! You have the results of what size and how many sheets of wallpaper you need to order to cover your wall. It also shows the total price.
If you have an unusual size wall, feel free to contact our support team. They will gladly help you take the right measurements, so you end up with just the right amount of wallpaper.
Calculating the wallpaper sheets you need by yourself
1. Look through the sheets available and first choose the correct height. It is best if the height of the sheet is a little bit longer than you need. 2. Then divide the width of your room measurements by the sheet width. If you get a fraction, size up. For example, if you have 160 inches wide wall, you divide it by 28 inches (the width of one sheet) and you get the result of 5,71. In this case, you should get 6 sheets of wallpaper.
How to prep for peel and stick wallpaper installation.
Once you are sure that your wall will accept peel and stick wallpaper well and you have measured the wall and ordered the right amount of wallpaper, it is time to get ready to install it.

Tools you will need
There are a few tools you will need to help you install the peel and stick wallpaper as smoothly as possible.
1. Level tool Level tool is very important to make sure you hang the wallpaper straight. Unfortunately more often than not ceiling or the walls are a little bit crooked. That means if you line up the wallpaper with the ceiling, it might end up angled. So use the level tool to make sure the first sheet you hang is straight.
Put the level tool on the wall and adjust it so the bubble is straight in the middle. Make a mark with a pencil on the wall, and once you apply the wallpaper, line it up with your mark. You don’t have to do it for all the walls. You can level the next sheets by the first one.
2. Something to smooth out the bubbles with When applying peel and stick wallpaper, there will be air bubbles. We want to smooth them out as soon as possible while applying the sheets, so you need a tool that will help you do that. It can be done by hand as well, but it can be useful to have other instruments by hand.
There is the option to have a plastic smoothing tool that is made for occasions just like this. You can buy it in construction or home improvement stores. However, some specialists argue that a plastic tool is not the best for the job, because it can scrape off the color of the wallpaper. But nevertheless, it is widley used to apply peel and stick wallpaper.
The other option is to use something softer but still with strong backing, for example, an eraser for a blackboard or whiteboard. Just make sure you buy a new one just for the job of smoothing out bubbles. Do not use an already-used eraser! It will definitely get the new wallpaper dirty.
3. Utility knife You will also need a utility knife. It is used to cut the extra wallpaper off at the bottom as well as to cut out electrical outlets and other details.
4. Ladder Since walls are over human height, you will need a ladder or at least a stool to step up to, so you can reach the top of the walls. Make sure whatever you step on is stable and safe to stand on!
5. A partner Last but not least, you will get the best results if you hang the peel and stick wallpaper together with someone aka this is a two-man (or woman!) job. Since the wallpaper sheets are quite big to work with, it is helpful if there is someone who can help holding the sheet, step back and see whether it is straight, hand tools, etc. So, if you are installing a peel and stick wallpaper, grab a friend and make a fun day out of it!
Cleaning the wall
Cleaning the wall is a crucial step to having a good application process for the peel and stick wallpaper. The wall needs to be 100% dirt-free, leave not a single dust. It is important because if there is some dust left, the wallpaper will stick to the dust, not the wall and the wallpaper will just peel off very fast. It is the same principle as with the texture, the peel and stick wallpaper needs to stick to as smooth a surface as possible.
For the cleaning, you can use a damp sponge or cloth and a mild soap solution or another cleaner. Just make sure the cleaner is not abrasive and doesn’t leave residue behind. Leave the wall to dry for 24 hours.

Priming the wall
If you wanna be extra sure that your peel and stick wallpaper will stick well to the walls, you can use a wallpaper primer. It is a primer used over paint specifically for wallpaper application, either peel and stick or traditional. But don’t worry it will help the wallpaper to stick to the wall, but you will also be able to remove it.
However, if you have cleaned your walls very well and maybe don’t even have the option to add extra layers of primer, you will also be good to go without this step.
Removing objects from walls
Before applying peel and stick wallpaper make sure you have removed any objects from the walls, for example, lamps or lids for electrical outlets. Once the wallpaper is on, you can put them back.

Testing peel and stick wallpaper
If you are not sure how the peel and stick wallpaper you have chosen will stick to the wall, have a test run! Purchase a sample and stick it to the wall. Leave it there for a day or longer. See how it holds up and whether it peels off right away. When you remove the sample you can check what the wall underneath looks like – it shouldn’t be damaged at all. It should look like there has nothing been on the wall at all.
How to install peel and stick wallpaper
You have prepped the wall and you are ready to install the wallpaper. Before you dig into the actual steps, keep in mind these tips: 1. Don’t stretch the wallpaper. Treat it very gently. Once stretched, you cannot “shrink” it back and the sheet won’t be usable. 2. Don’t peel off all the backing at once! If you do that, it will be very hard to work with that sheet – it will stick to itself, the wall where you don’t want to, etc. 3. Cover the electrical outlets with wallpaper. You will cut them out later on. 4. Cut the bottom of the wallpaper once all sheets are applied. That way you will get a nice, uninterrupted straight line. 5. Apply the saying “Measure twice, cut once” to the whole process.
And how here are the steps on how to apply peel and stick wallpaper.
Step 1 – make markings with a level tool
Take your level tool and make two marks: 1. a mark at the top of the wall where it is straight. 2. a mark vertically where it is straight.
You will need to line up your first sheet of wallpaper to those markings.
Step 2 – get ready to install the peel and stick wallpaper
Take the first sheet of wallpaper. Peel off just a little bit (no more than 3 inches) of the backing. It is very important to not peel off all the backing! You won’t be able to hang the wallpaper if you do that.
Step 3 – stick the first sheet of wallpaper to the wall
One person holds the top of the sheet, the other person holds the wallpaper lower than the top, and possibly holds the peeled-off backing as well. The person that holds the top, lines it up with the markings made from the level tool readings. When you are sure, you have lined it up perfectly, gently stick the wallpaper to the wall. Don’t rush!
Pro tip! Keep in mind the saying “ Measure twice times, cut once” when applying peel and stick wallpaper. You want to avoid at all costs, the situation when you need to peel off wallpaper to straighten it.
Step 4 – Smooth out bubbles
Take your smoothing-out tool and smooth out any bubbles. Only move on to sticking the next section of the wallpaper when you have smoothed out the bubbles of the previous one. The smoothing out is done by the person, who held the wallpaper at the top. The other one still holds the rest of the sheet.
Step 5 – apply the wallpaper to the bottom
The person who holds the wallpaper at the bottom and holds the backing, peels the backing off a little bit. The other one gently pushes it to the wall and smoothes out any bubbles. Go like this, until you reach the bottom of the wall.
For now, leave the extra wallpaper hanging at the bottom.
Step 6 – apply all the sheets
Take the next sheet and repeat steps 3 to 5, but instead of lining it up with the markings of the level tool, line the next sheet with the previous one. If the pattern allows it, to avoid any gaps between sheets, you can overlay the sheet a little bit (no more than 0,2 inches). But it is not obligatory, do what fits your situation best!
Step 7 – cut what needs to be cut
Take the utility knife and cut out electrical outlets. If the cutout is not perfect, don’t worry, once you put the lid on, it should cover all the imperfections. After that, with the utility knife, cut a straight line at the bottom of the wall to remove excess wallpaper.
Step 8 – enjoy your new room!
Celebrate a good job done!
How to clean and take care of peel and stick wallpaper
Once the peel and stick wallpaper is on the wall there is actually no need to specifically take care of it. It is already doing its job. The only thing you can do, if you see any visible signs of dirt, is to once in a while wipe it clean.
To clean a peel and stick wallpaper use a damp cloth and mild soap solution, vinegar solution, or cleaning product of your choice that is not very harsh. Make sure you don’t make the wallpaper extremely wet, try to use as less water as possible, and wipe it dry as soon as you can. A good option how to dry wallpaper is to use a microfiber cloth. Remember not to scrub very hard as well, it might damage the print of the wallpaper.
How to safely remove peel and stick wallpaper
Of all the steps and things you can and cannot do with peel and stick wallpaper, removing it, is the easiest one.
Just peel off the sheets from top to bottom. If you cannot find a corner to catch on to, use a small blade (for example, a utility knife) to lift the paper a little bit. If you want to save the wallpaper, you might need another person to help you with this task, so the wallpaper doesn’t stick on itself. Also, make sure the backing is ready for sticking. If you don’t want to reuse the wallpaper, just squash it into a ball and throw it out. Unfortunately, wallpaper is not recyclable.
Can I reuse already used peel and stick wallpaper?
If you remove the wallpaper very carefully and stick it back to a backing, theoretically, you can try applying it again. Practically, there is a possibility that it won’t stick so well on the next surface (and peel off soon after hanging), plus you need to have the same or smaller wall height for the wallpaper to work in the next place. However, you definitely can utilize used peel and stick wallpaper for other DIY projects where it might be fine to add more adhesive so it sticks better (making it a permanent solution).

Conclusion
Peel and stick wallpaper is a great option for a fast renovation with visible results. Even though the choosing, preparations, and application process might sound lengthy, once you get a hang of it, it is quite easy. Don’t give up at first tries, keep going and decorating your house with beautiful peel and stick designs!
